As part of my continuing mission to do at least a little bit of unselfish sewing for my nearest and dearest, I’ve made my boy a summer hat. And now, of course, everyone wants one. I’ve made a rod for my own back!
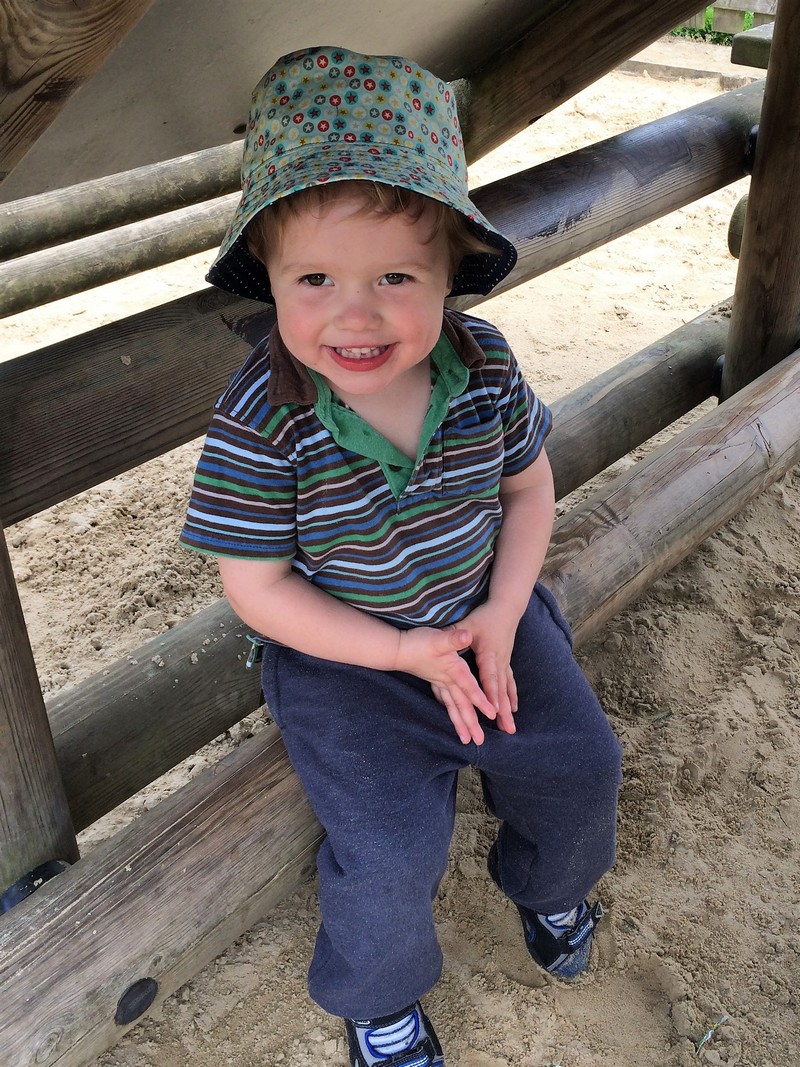
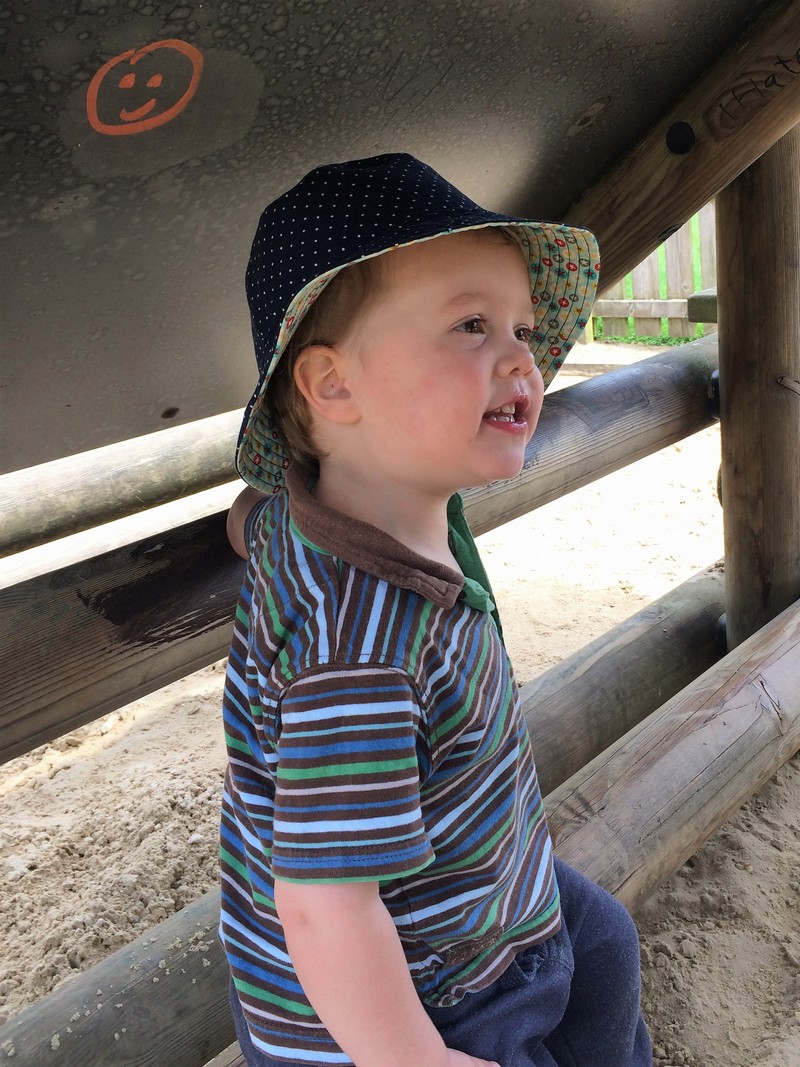
But seriously, how cute does he look?! Gabriel has always loved a hat, but has an annoying propensity to lose them. I’m just hoping he can keep hold of this one. At least until I’ve made him a newsboy cap…
In a Nutshell:
A cute and simple summer project, which is a perfect introduction to hats. Warning: you could get addicted to hat making!
Pattern:
The Oliver + S Reversible Bucket Hat, which is a free PDF pattern. I first saw it made up by Zoe at So Zo…, and decided I had to give it a go. It’s available in sizes to fit from 6 months to 8 years. I made Gabriel the Medium size (3-5 years), but he has a big head (between the M and L size ranges) and while it fits okay, there’s not much growing room. Medium was the right choice, though, as it doesn’t fall off easily so shouldn’t (fingers crossed!) get lost in a hurry. However, I’ll definitely need to make him a new one next year!

Fabric:
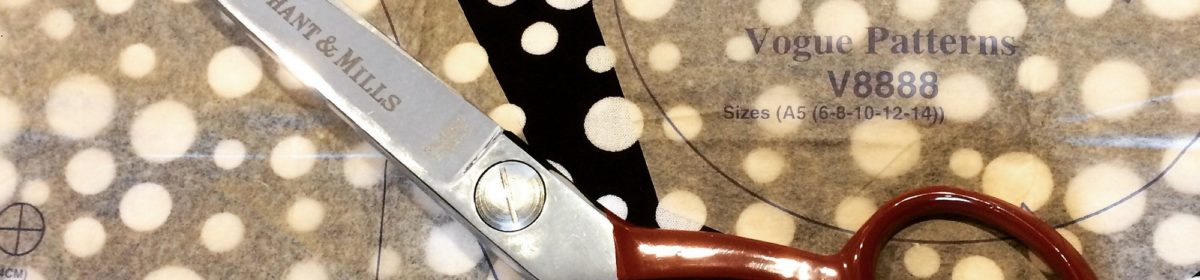
This hat doesn’t use much yardage, so I delved into the stash and found two fabrics I liked together. The navy polka dot one is a dressmaking cotton with a flannel-like softness, but much thinner and lighter than a true flannelette. I’ve already made a dress out of it quite a few years back, but had a large piece of leftover yardage. The stars is a quilting cotton. I think it might be a Michael Miller or Robert Kaufmann fabric, but I can’t remember now. It’s been in the stash for years. The sew-in interfacing is left over from a coat project I started years ago and still haven’t finished. Maybe this winter…
New skills learnt:
The sewing skills weren’t really a stretch, but this was my very first time sewing a hat. Also, the first time I’ve done topstitching on a thick wedge of fabric and sew-in interfacing. It’s surprisingly like quilting!
Construction:
The instructions were straightforward and easy to follow. There are a couple of finicky steps when sewing the curved seams–especially attaching the top to the sides–and I went for hand tacking the layers in place rather than simply pinning them, reasoning this would be easier to handle under the sewing machine. Also, you have to trim the seam allowances really narrow which is always a bit nervewracking. I must get some of those duckbilled scissors!
My only changes for next time are very minor, and would involve using different colour thread in needle and bobbin if using fabrics with such a big colour difference. I don’t think the navy stitching looks bad on the lighter fabric, but it would have been easier and more forgiving if I’d picked a colour that wasn’t such a dramatic contrast. Yes, there would be a point when you’d need to change the needle colour in order to topstitch one of the seams on the top of the hat, but that’s not really that much of a hassle in the grand scheme of things.

I’d also try working the rows of (optional) topstitching on the brim as a spiral rather than concentric rings. That would have been so much easier and quicker!
Time taken: 2 hours and 30 minutes (which includes 25 minutes of hand sewing)
Overall verdict:
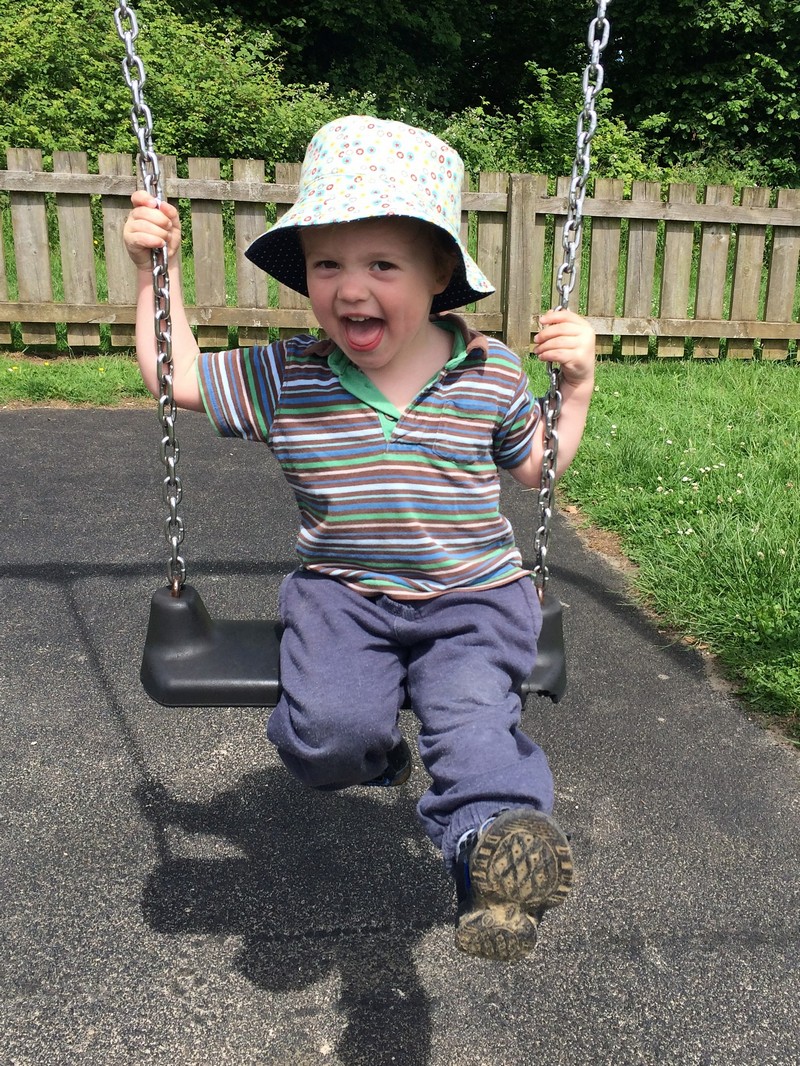
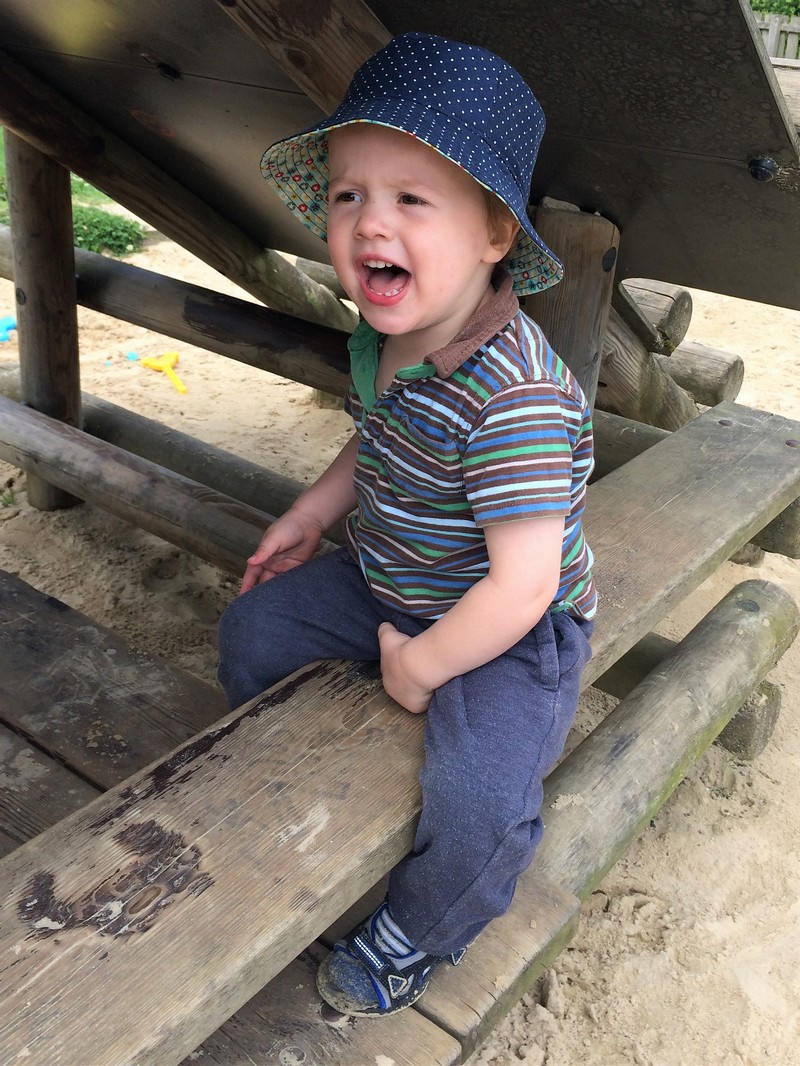
Gabriel is such a hat boy and I’m really pleased he seems to love this particular hat. I think both sides look cute as the outer, and I’m going to look out for fat quarters of suitable novelty prints to make more future versions. Dinosaurs? Diggers? Astronauts? Oh, I could have fun with this pattern! I reckon I’m going to get into a summer hat making tradition. New hats for all the family! Now, prepare to be assaulted with cuteness:
I’d recommend this pattern without reservations. It’s great for using up scraps as all the pattern pieces are small. I reckon it would be a perfect birthday gift for babies and young children, so worthwhile having in the pattern stash for anyone with young people in their life 🙂
I’m definitely a convert to hat-making. Something about the sewing was way more fun than I’d anticipated. I loved the way the structure formed, and the way the fabric seemed to stiffen up when topstitching through the interfacing. I’m starting to understand why some sewists get seriously into bag-making, as I’m guessing it’s a similar kind of satisfaction they get. Maybe I’ll try sewing another bag sometime. So far I’ve only tackled really basic ones, but it would be nice to have something with more structure and pockets…
Changes for next time:
I don’t think I’d make any changes to the pattern (other than those minor construction points detailed above) as it’s perfect how it is. I will definitely make the next size up for Daisy this summer (she has a small head because of her Downs Syndrome so will fit the largest size), and Andy has requested a sized up version to wear fishing. I’m guessing it wouldn’t be too difficult to enlarge this… #famouslastwords
Costing:
Pattern: £0.00
Fabric: £0.00 – leftover from other projects, so I’m not counting the cost, even if I could remember the original purchase price!
Total cost: £0.00!
Probably the cheapest sewing project I’m ever likely to make 🙂
And to finish off, a couple of pics of us all having fun at the park:
Anyone else tempted to have a go at hatmaking? And which side of the hat do you think looks best on Gabriel?
This is so cute!
Thank you! He does wear a hat well 😀