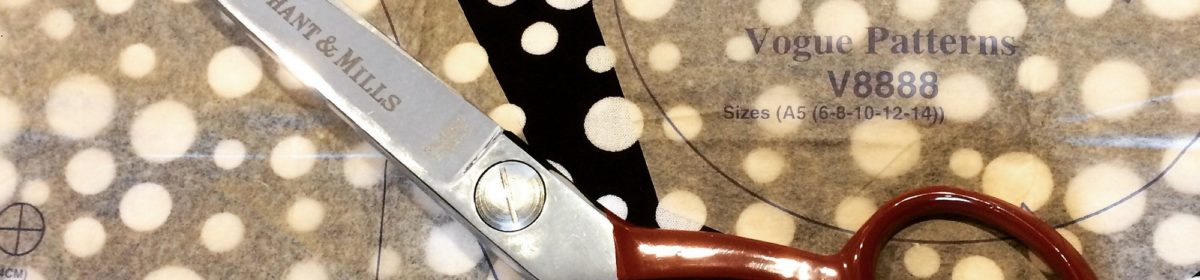
I’m doing my best to use up stash these days, both in terms of patterns I already own and fabric. This is a total stashbuster project, using a Seamwork pattern I downloaded back when it was first released.

In a Nutshell:
A cute summer top, but it took a lot longer than it should have done as the neckline sewing was fraught with issues…
Pattern:
The Aurora top by Seamwork. I’ve loved the shape of this tank since it was first released, and it looked like an ideal hot weather top for me. I tend to live in RTW cami tops in the summer, but am looking to find a TNT sewing pattern that gives good bra strap coverage. I had high hopes for this one!
Based on what my measurements were telling me, and my previous experience with Seamwork and Colette patterns, I cut a size Small at the top, grading to a Medium at the waist/hip. I think this will have to be my go-to sizing with them from now on.
Fabric:
Both fabrics were from my stash, and were purchased from Girl Charlee UK about a year ago. For the yoke I used the black cotton lycra jersey. It’s very stretchy with excellent recovery. The main fabric is now out of stock, but I think it’s a different colourway of this polka dot cotton rayon blend jersey. It’s quite lightweight and slinky with excellent drape.
New skills learnt:
Using fusible knit interfacing to stabilise hems. And no, this isn’t in the pattern instructions.
Construction:
Things started really well as this was such a quick one to cut out, despite my tricky shifty spotty jersey. Clearly I’ve improved my jersey cutting skills since I last used this fabric! I think it helped that I gave the edges a starching too. However, things went downhill from there. Partly this was down to my fabric choice–the spotty jersey just wouldn’t behave itself and I had to unpick one side seam and adjust the differential feed on the overlocker before redoing it. But partly it was down to the construction method at the top.
I was a little doubtful about this method when I first read the instructions (after cutting out my fabric-doh!) but decided to give it a go as my previous Seamwork makes have been pretty successful. Hmm.
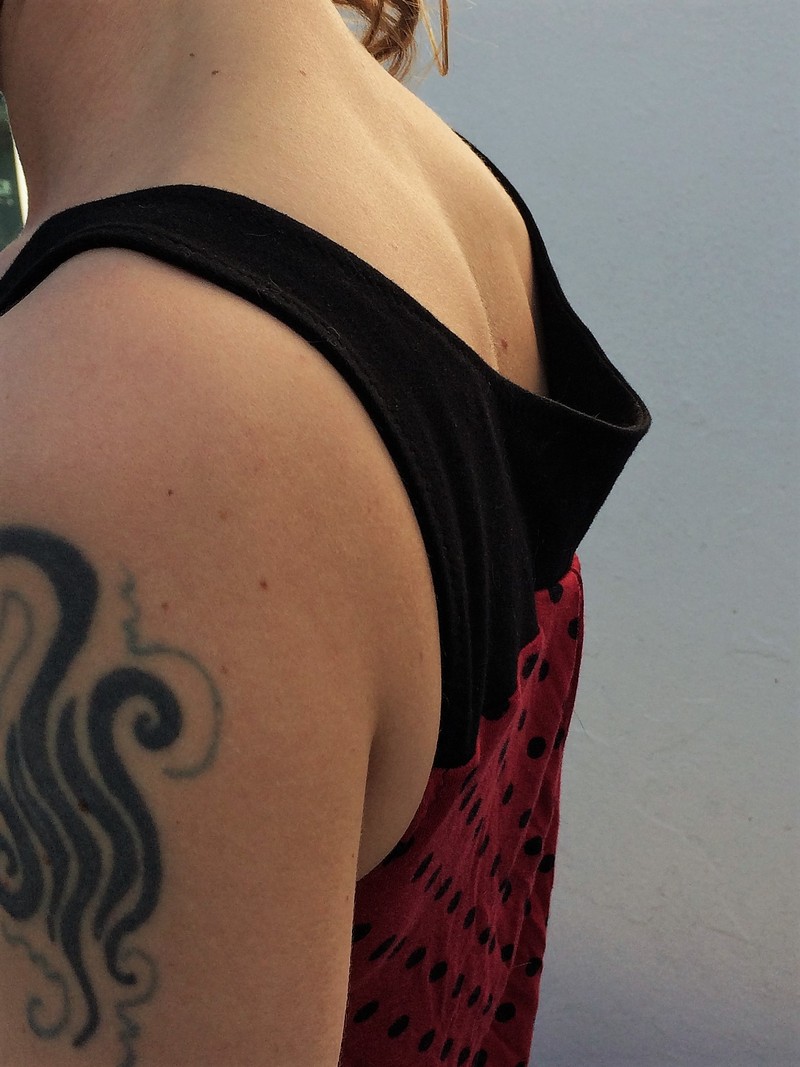
Basically, the neckline at the front and under the armholes is turned and stitched, with the bits that join the straps being gathered and then seamed onto the straps. Now, the turned and stitched method is never my favourite neckline finish on knits–it’s fine with hems but it just doesn’t work well on curves and makes necklines bag out in weird ways. Normally if I see this construction step I change it for a neckband, but I couldn’t see that working here what with the way the front needs to be gathered at the straps. To complicate matters further there was a really sharp curve at the underarm edge.
However, since I couldn’t think of a good alternative way of finishing that neckline I decided to give the Seamwork way a try with an offcut of fabric cut to the same sort of curve, using a narrow zigzag, and it was a frigging disaster. The sewing machine wanted to eat the fabric, and the stitching was all over the place. It needed stabilising, but with what? I contemplated using wash-away Wonder Tape, but it wasn’t really suited to a sharp curve. Then I remembered the fusible knit interfacing I bought last year, and hadn’t yet used. Could it be the answer to my problem? The answer was a resounding YES! I cut 3/8″ strips from it and fused onto the edge of the neckline piece (I had to take a couple of small snips into it to help it go round the curve), then folded it over and topstitched with a narrow zigzag. This time my stitching was beautifully even and the machine had to go hungry–no fabric eating this time!
At this point I was feeling pretty smug, and the rest of the construction went pretty easily (aside from redoing that side seam). Admittedly, I didn’t much like the way the seams between the front bodice and yoke were left exposed on the inside, but a bit of hand stitching them down at the edges helped (the instructions say to do this or a machine bar tack, but that would have shown up too much on this fabric so hand it was).
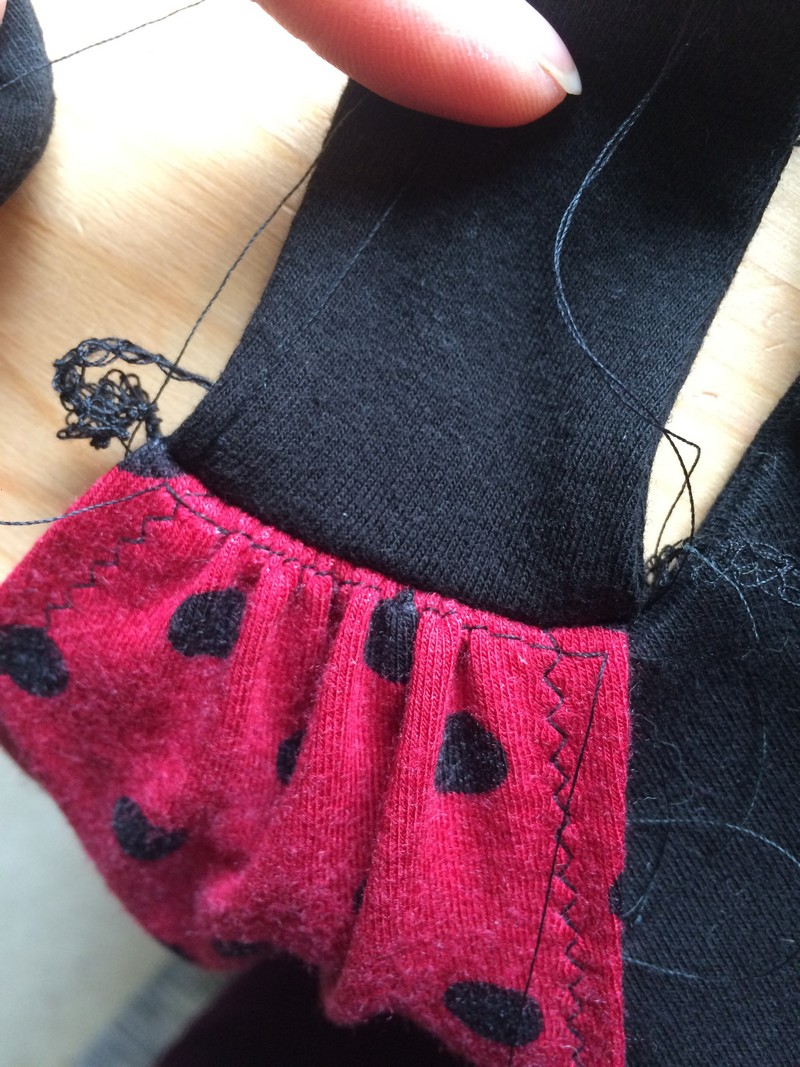
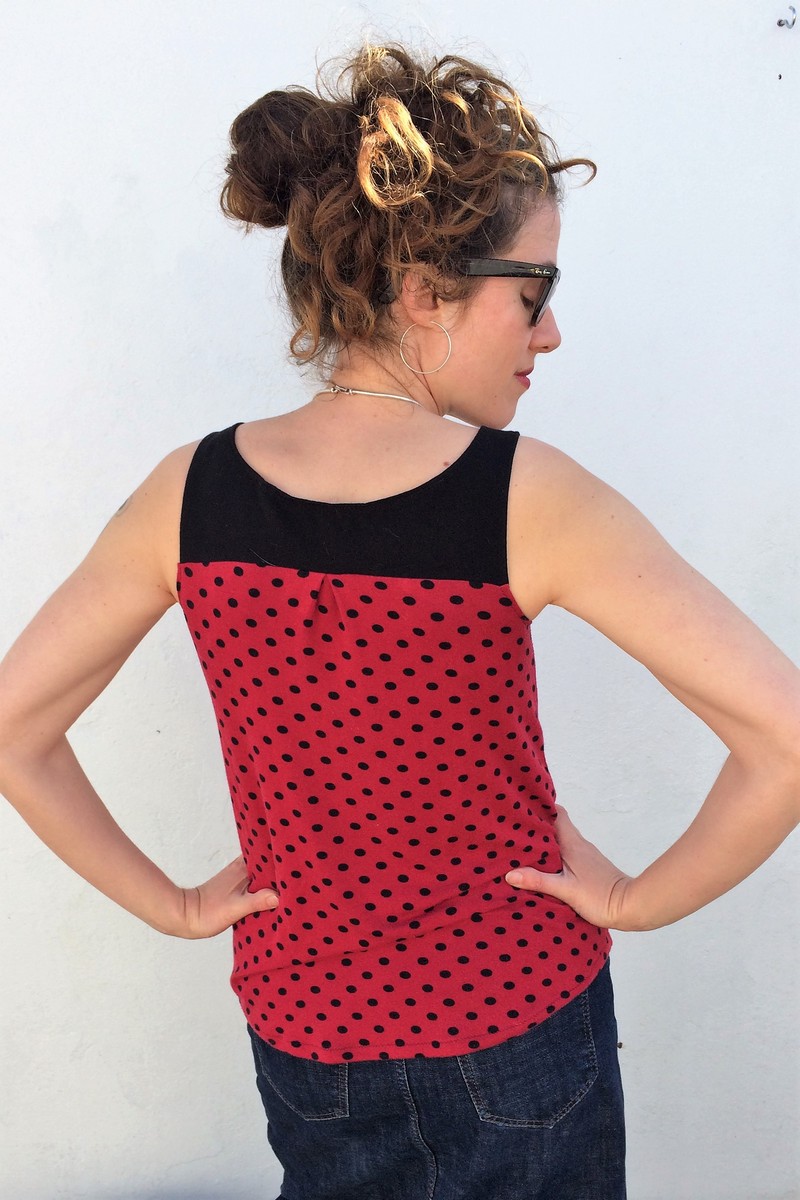
But then was one of the final steps: topstitching the neckline and armholes of the yoke. I’m guessing this is done mainly so that it doesn’t look odd to have topstitching on the rest of the neckline and armholes but not on the yoke, but I wish I’d skipped it because you wouldn’t have noticed with my contrast fabric. Because when I sewed it, this happened:
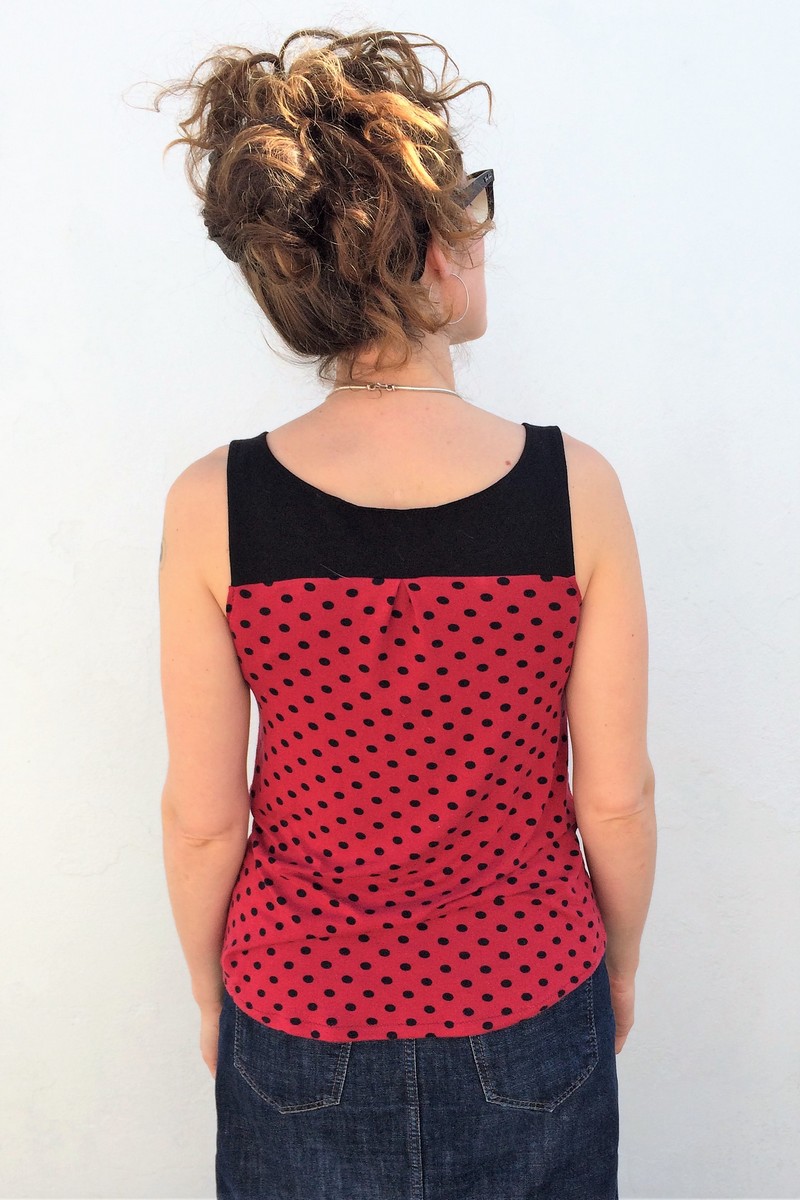
ARRRGH! The back neckline had been sitting perfectly up until that point, and I used the walking foot so I don’t know what happened there. I guess I should have used the knit interfacing on the yoke too! After having a go at handstitching some clear elastic to the inside to gather it in, I admitted defeat and just machined it in place. It has definitely helped, but has left it a bit ripply which kind of spoils what would otherwise be a pretty great top. I doubt anyone else will ever notice, though. Here’s the back after fixing:

Time taken: 1 hr 50 mins (not including pattern prep or fabric cutting)
Overall verdict:
I’m in two minds about this one. It’s hard to separate out the final make from the hassles I had, and there are things about the neckline finish that bug me. However, on the whole I really like the shape, it’s incredibly comfortable, and it’s definitely the kind of top I’ll wear lots in the summer. It exudes a bit of 50s pin-up glam with those polka dots, but is understated enough for everyday wear. I would say over jeans, but to be honest, the spotty fabric is so light and drapey it shows the jeans waistline too much. I think it would be best over jeggings, dress trousers with a side zip, or a knit pencil skirt. Hmmm, maybe I should make a black one out of some of my remaining yoke fabric. I’ve got plenty left!
In terms of fit there’s a bit of fabric pooling at the lower back. Swayback adjustment next time!
Here’s some pics showing different views:


Changes for next time:
I don’t think I’ll make this one again straight out of the envelope because the construction was so problematic around the neckline. I will, however, use the general shape as a starting point for drafting something similar myself as I really like the finished garment. Just have to figure out a different way of attaching those straps and finishing the neckline. Maybe a completely lined bodice? Or at the very least a facing…
Costing:
Pattern: £2.45 for one Seamwork credit at $3.
Fabric: £8.95
(£9.95 per metre for both fabrics. Used 0.3m of the black, and 0.6m of the polka dot)
Total cost: £11.40
Not bad. I reckon I’ll wear it enough to make it a worthwhile make. It was a good scrapbuster too!
Anyone else made this top? Or worked with fusible knit interfacing? I’d be interested to find out some other uses for it!
Looks great on you, despite the complications. Like you I am looking for that perfect summer tank I can just make lots of – I considered this one, but the gathering actually put me off. After reading your nightmare with it I think I will just pass it by and look for another…
There must be a perfect tank out there, I’m sure! Next up I’m trying a sleeveless version of the Knit Sweetheart Top from Gertie Sews Vintage Casual. I have high hopes, but then again, I’m a terminal optimist 🙂