Happy New Year everyone! May 2017 be a fabulous year for you 😀
This is the first of my two remaining 2016 makes to blog. Not lagging too badly here as I completed this project back in September. That was just in time to wear to a convention for writers and readers of GLBTQ romance, hence the six colour Pride rainbow.
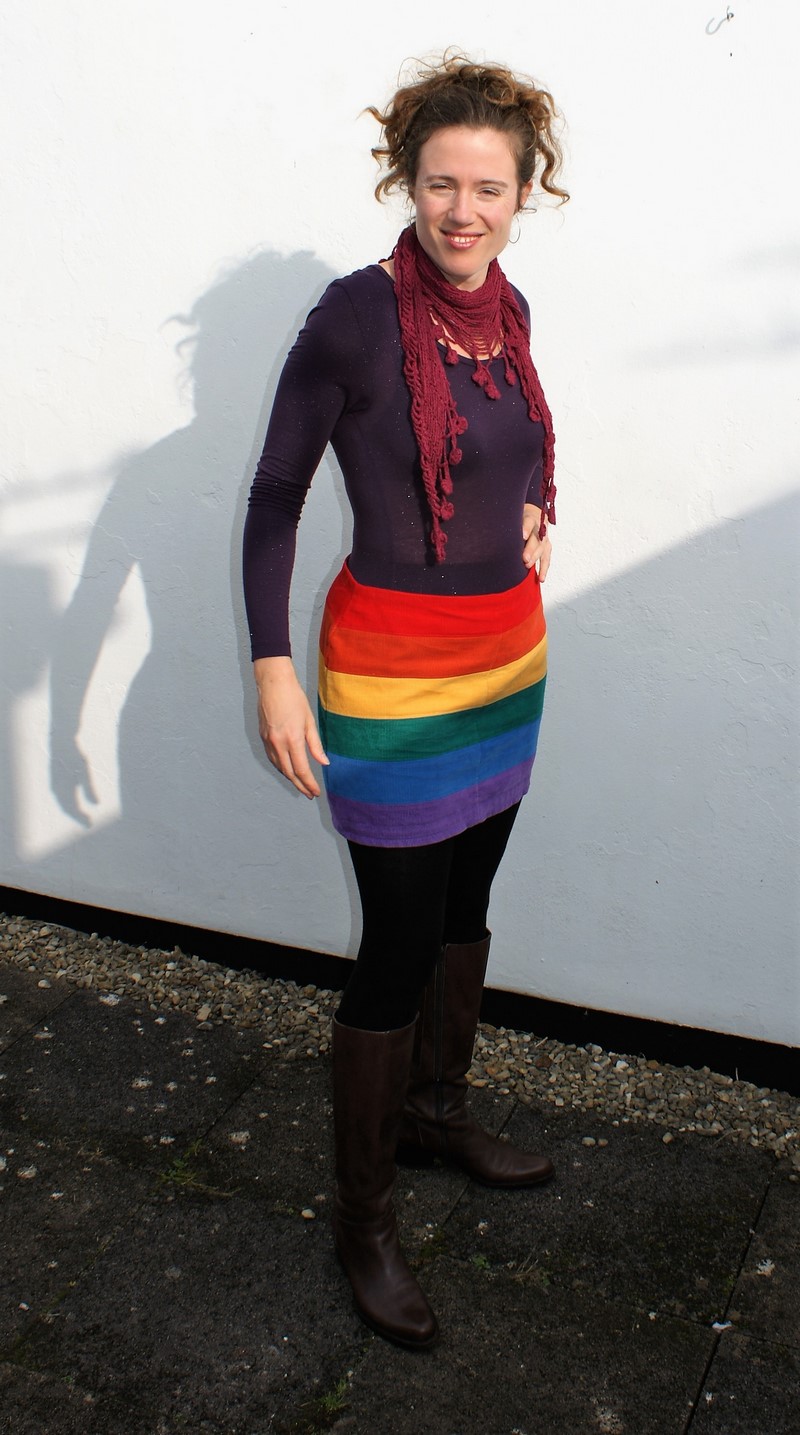
In a Nutshell:
This is a skirt I’ve been planning to make for years, and while I’m really happy I’ve finally got it done, it’s not exactly how I envisaged. It’s an awful lot shorter, for starters…
Pattern:
Self drafted. Actually, I didn’t even draft a pattern–I just fitted it to me as I went. It’s a straight skirt with two back panels and two front panels (does that make it a four gore skirt?), and an invisible zip in the centre back. There’s no waistband, just a grosgrain ribbon facing. It sits a couple of inches below my natural waist, and I decided not to go for darts for shaping as I didn’t like the idea of them breaking into the next layer down of the rainbow. All shaping is done in the seams.
Fabric:
Scraps of needlecord from my stash, left over from my doll-making days. It’s a really high quality, 100% cotton British-made corduroy from Brisbane Moss (I believe it might have been their 16 wale Chiltern). Unfortunately they only supply to trade, so I’ve no idea where I’ll get my corduroy in the future. Good thing I’ve still got lots left…
New skills learnt:
None. This was all tried and tested techniques. I’ve even hand picked a zip before!
Construction:
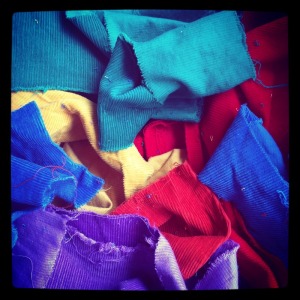 I began work on this skirt by heading up to the loft and tearing a strip of corduroy off each of my six colours. This was where I should have paid more attention. It wasn’t until I got the fabric downstairs and began to overlock the edges that I realised one of my strips (the blue one) was much narrower at one end than the other. Rather than head back into the loft to tear another strip of blue, I decided to just make all the strips narrower (although I kept the red and purple wider so I had plenty of hem allowance). I held the fabric against me (deducting seam allowances) and decided I’d still have a skirt that was plenty long enough. What I was forgetting about, though, was that the length of a skirt looking down from above is very different to the length of a skirt looking sideways into a mirror. Oops.
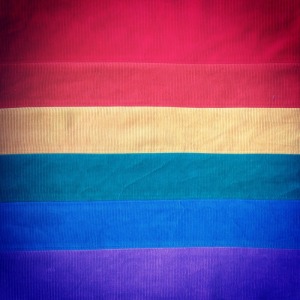
Once I had all my strips overlocked I sewed them together, making my own rainbow yardage (right). I pressed the seam allowances open so they wouldn’t be too bulky when joining the skirt panels. I decided after trialling a few options on my scraps that I’d topstitch (or perhaps edgestitch?) just to one side–the top piece. I didn’t really like the look of topstitching on both sides of the seam, and I figured it was needed on the top the most as the lower seam allowance should stay in place with the help of gravity.
I then cut the fabric into four panels so I could add some shaping to the front and back seams, and then pinned it together and tried it on. Amazingly enough, my eyeballing and guesswork resulted in an almost perfect fit on the front and back seams. I then overlocked all the seam allowances before carefully pinning and sewing the front and back seams with my Bernina (leaving an opening for the zip). Next I basted the side seams, eyeballing the kind of curve I’ve always had to use to get the perfect fit over my hips. I did need to make some adjustments here, as you can see in the following picture:
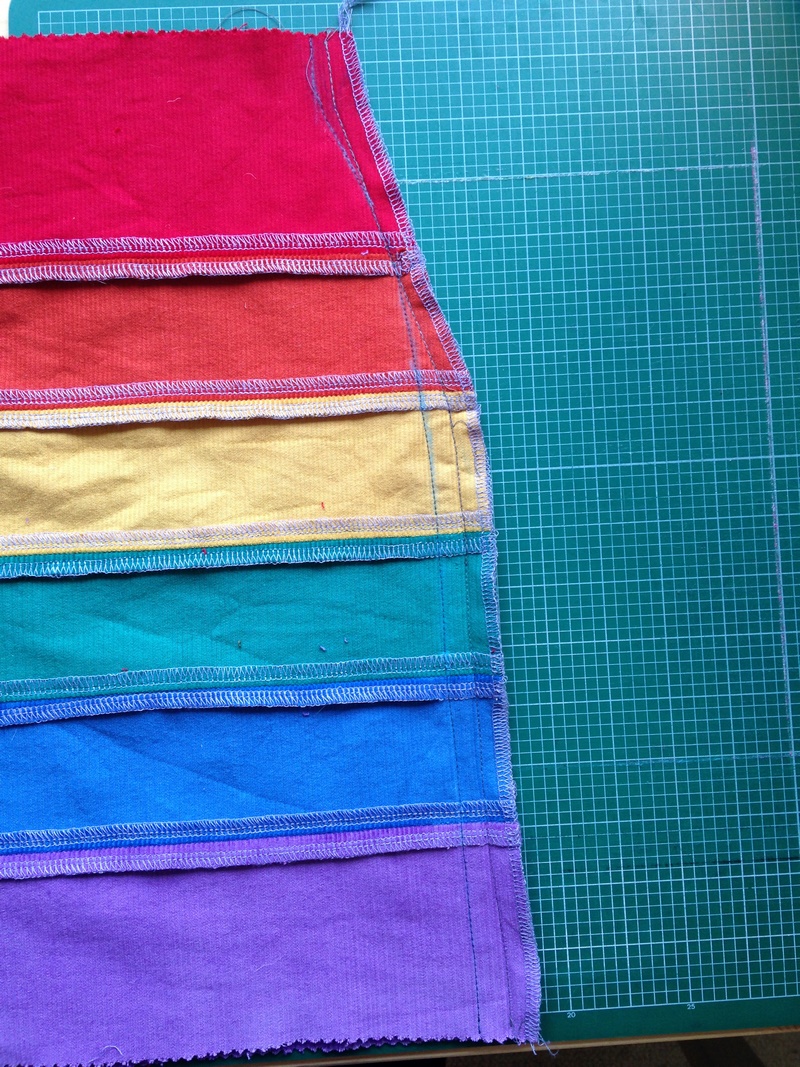
The inner line was the final seam line. My hip curve is more dramatic at the top now, in contrast to where it used to curve lower down. I’m thinking this is down to working out lifting everything and giving me much better muscle tone in my hips and glutes, and I’m hoping it will make commercial patterns easier to fit in future 🙂
I used a dark grey invisible zip from my stash, on the theory that since it was cutting through at least three different colours, it had better be neutral. I had used dark grey to stitch all the cord strips together, remembering a quilting class I took years ago where the teacher recommended grey thread when dealing with fabric of lots of different colours.
As I still don’t have an invisible zip foot I decided to machine baste the zip in place, then hand pick with matching thread for each colour. Yes, it was more hassle, but I really like the smooth finish it gave, even over those bulky seams in the corduroy.
But I’m getting ahead of myself, because before hand finishing the zip (which actually happened on the train down to the convention–good thing I had a seat!) I had to insert the waist stay. This was a simple treatment I first encountered in a Vogue skirt pattern, and it involves stitching on some grosgrain ribbon, then turning it to the inside and tacking to the seam allowances to hold it in place. It gives a nice clean finish to the waist, and is less hassle than making a proper waistband. Here’s a picture of the guts so you can see what’s going on:
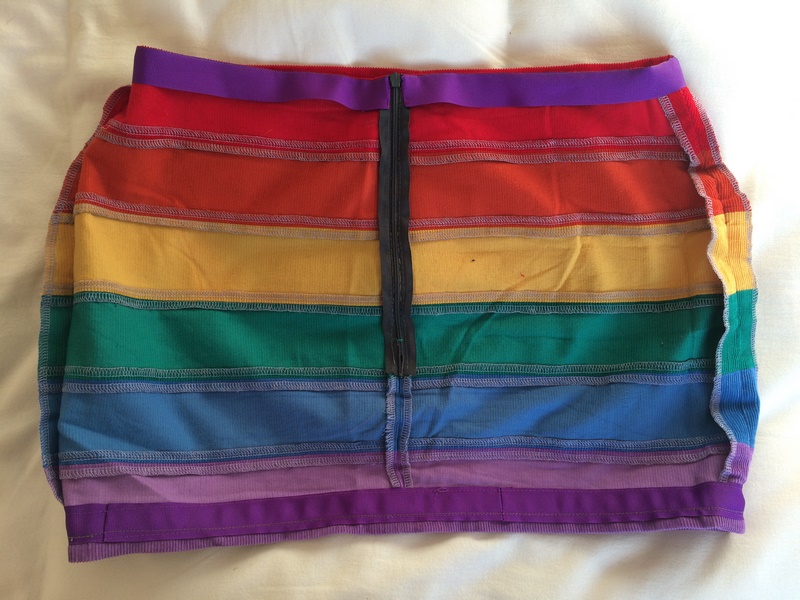
I used the same purple grosgrain (from my stash, of course) to finish the hem. This was the least successful part of my sewing and I should have spent a little more time thinking it through. Basically, I used the grosgrain as a facing so I could keep the hem as narrow as possible (I’d realised by this point that I was making a micro mini!) However, because the grosgrain was so wide, I had to stitch it in place twice, the upper row of stitching being about halfway through the purple stripe:
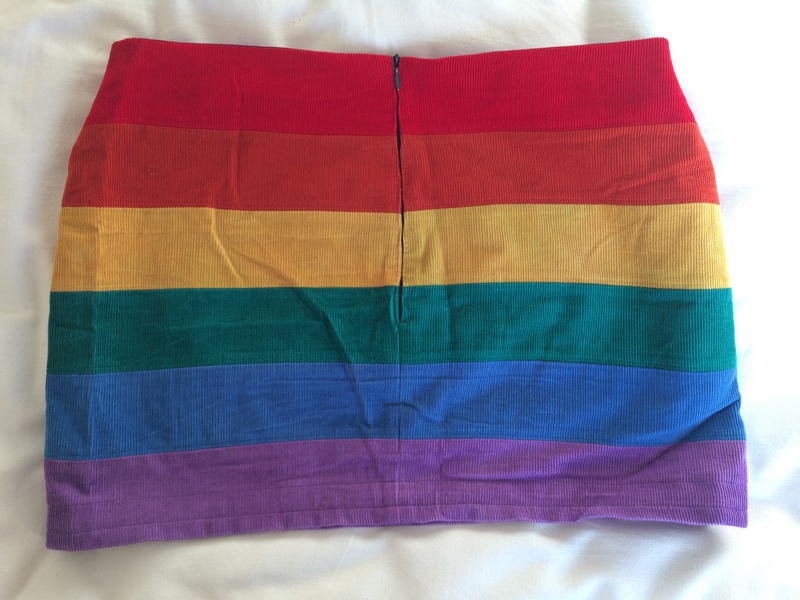
I don’t particularly like seeing the stitching here, but I was pressed for time to finish the skirt, and although I could redo it all with a narrower ribbon (or simply an overlocked and turned hem) I’m not sure if I can be bothered for a skirt I’m not likely to wear all that often. We shall see.
Overall verdict:
I included this skirt in my Top Five Hits and Misses post as a miss. Admittedly that’s not completely fair as there’s a lot to like about it–the bold colours, perfect stripe matching and hand-picked zip for starters–but I do still have reservations about this skirt. I’m really happy that I finally got it made, but I’m kicking myself for not taking a few extra minutes to think about the finished length and then get some more blue cord from the loft.
As it is it’s a great skirt for wearing over tights or leggings, but I’ve discovered it’s pretty much a wardrobe orphan. It’s really too short for bare legs, and it only goes with my black tights and one (also black) cami top. I thought it went with this purple thermal top shown in the pics, then realised how transparent it is in these pictures. Clearly not intended to be worn on its own–just as a layer underneath other tops!
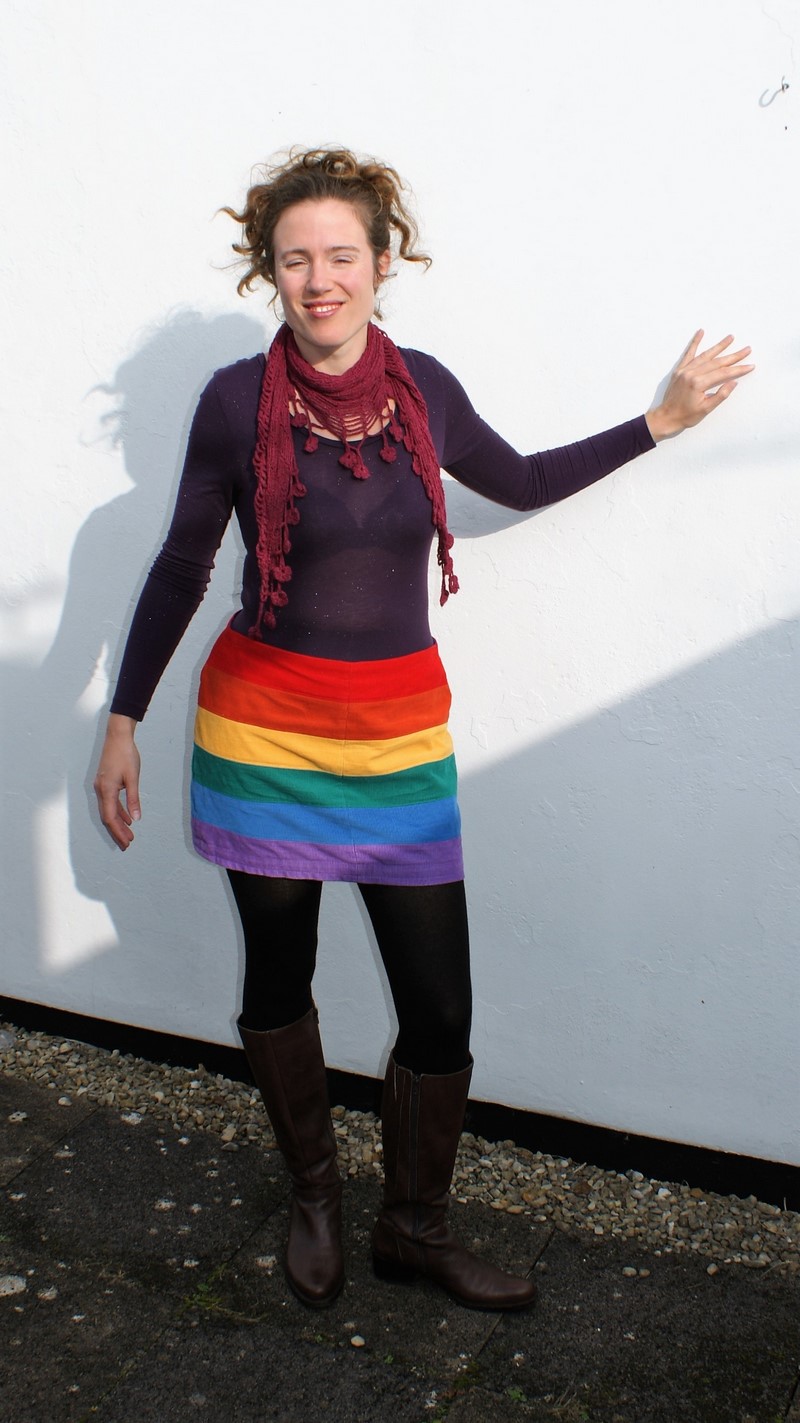
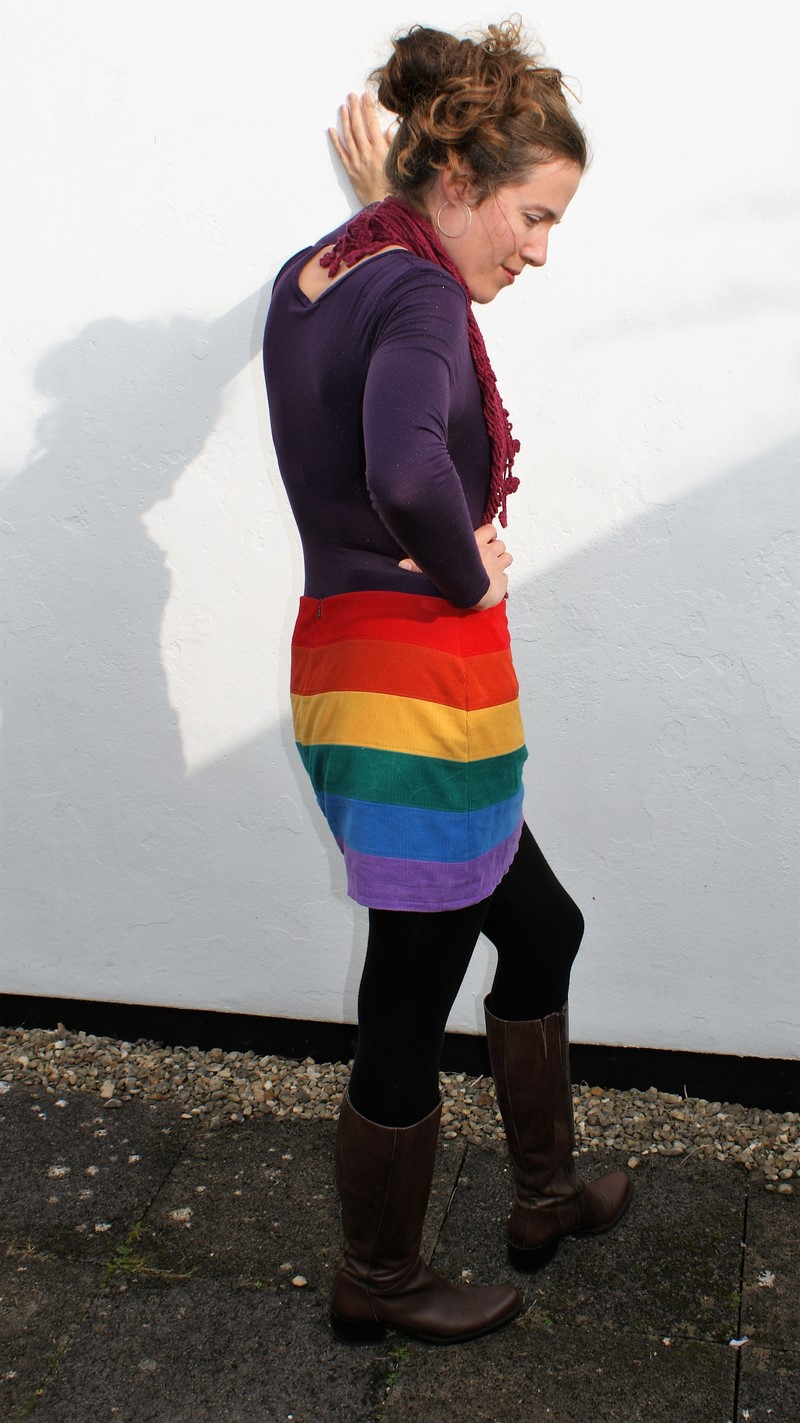
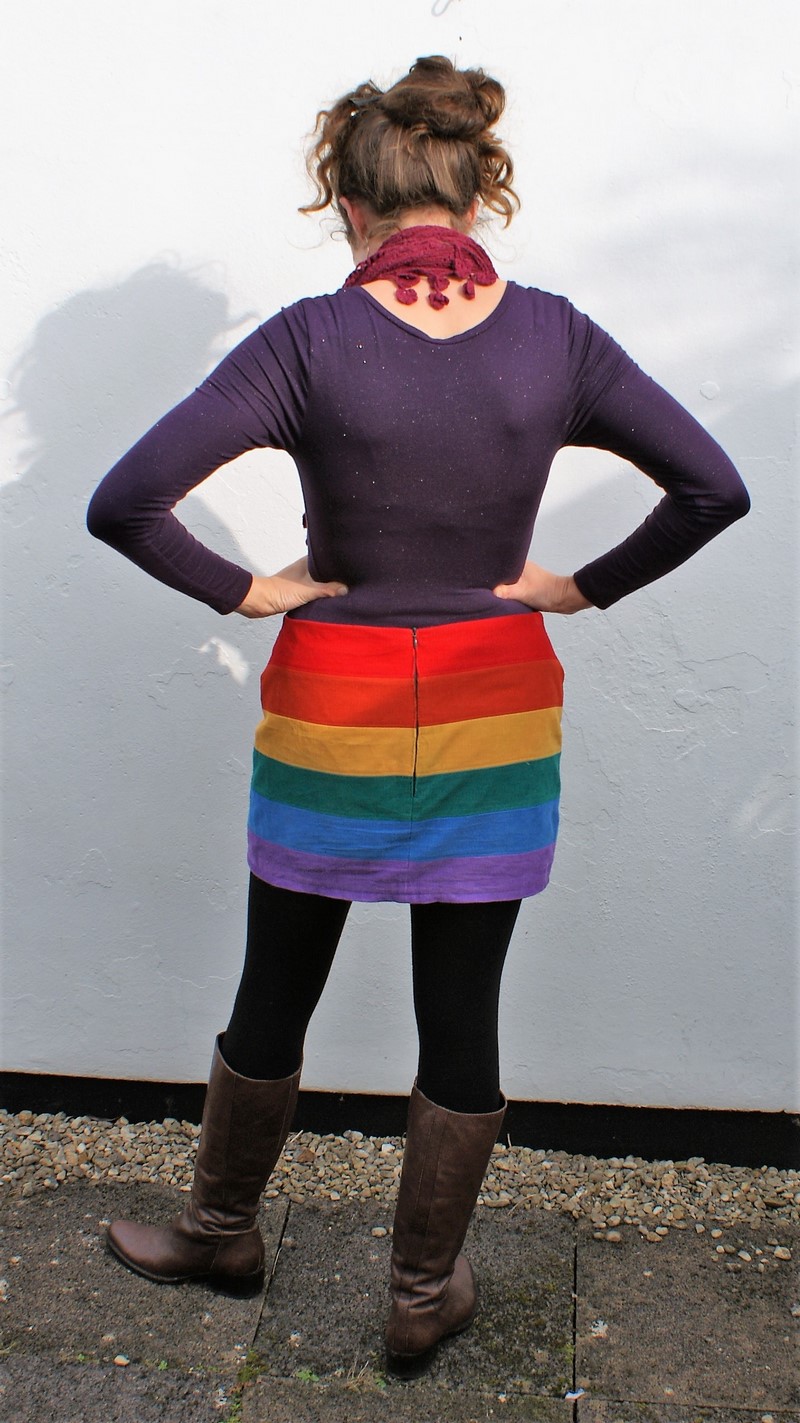
The problem with styling this skirt is you have to tuck a top in or wear a cropped one, as otherwise you cover up the red strip and it just doesn’t look right (it’s not a rainbow, for starters). With the cami and tights this is more of an evening look rather than a daytime one, so I don’t know how much wear it will get. Perhaps it would get more if I sew myself a black bodysuit to go under it…
I also wonder how much I want to draw attention to my hips. All the conventional wisdom says women who are pear shaped should wear dark, plain things below the waist to avoid drawing attention to a “problem area”. A big part of me thinks “screw that, I’ll wear what I want”, but perhaps there’s something to be taken from conventional wisdom after all. This skirt definitely gets noticed, and I did get a lot of men stroking my backside when I wore this out. Good thing they were all gay or Andy might have been jealous 😉
Changes for next time:
It’s possible I might have a look at the leftover needlecord and see if I have enough to make a longer skirt. Just an extra half an inch of each colour would make a three inch difference to the hemline! I’d probably draft a proper waistband too. I think narrower seam allowances might help with the rippling along the seams, too.
I’m not in any hurry for an improved version, though. For 2017 I’ll be concentrating on making wardrobe staples, so that means lots of boring neutrals. And maybe the odd bit of crazy…
Costing:
Pattern: £0.00
Fabric: £0.00 All from my stash.
Notions: £0.00 All thread, grosgrain ribbon and the zip also from my stash.
Total cost: £0.00!
I think this is the cheapest thing I’ve ever made!

0 thoughts on “Happy New Year! And a rainbow mini skirt…”