Prepare yourself for the world’s kitschest Christmas apron, featuring the campest underwear models you’ve ever seen. And I even finished it in time for the big day!
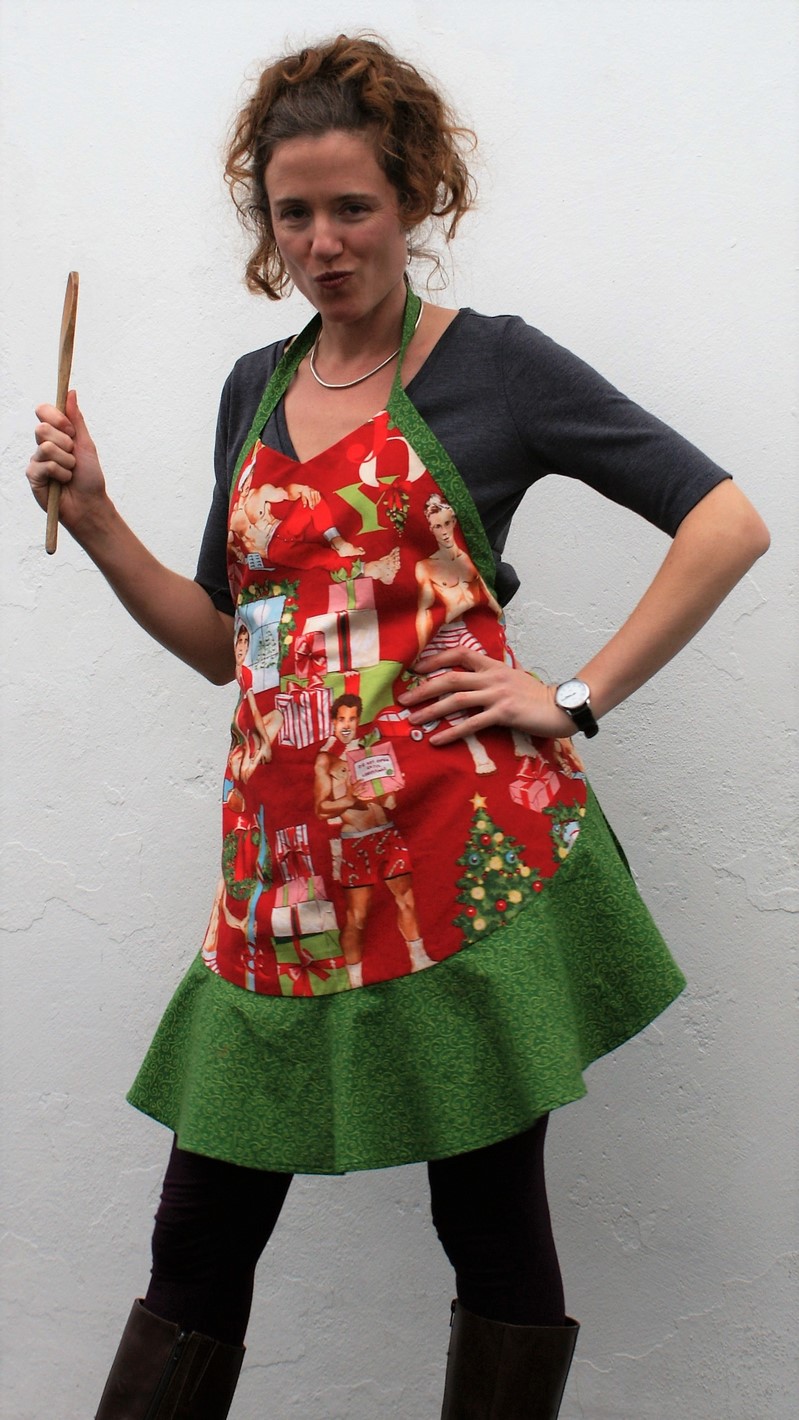
In a Nutshell:
I’ve had the materials for making this apron for at least four years now–probably more like five. I have no excuses for taking so long to make it up (other than Christmas prep always getting in the way), but this year I got my act together and actually sewed the damn thing. It was my Christmas present to myself, and I made it a priority before working on presents for everyone else. That’s the kind of selfish sewist I am these days 😛
Pattern:
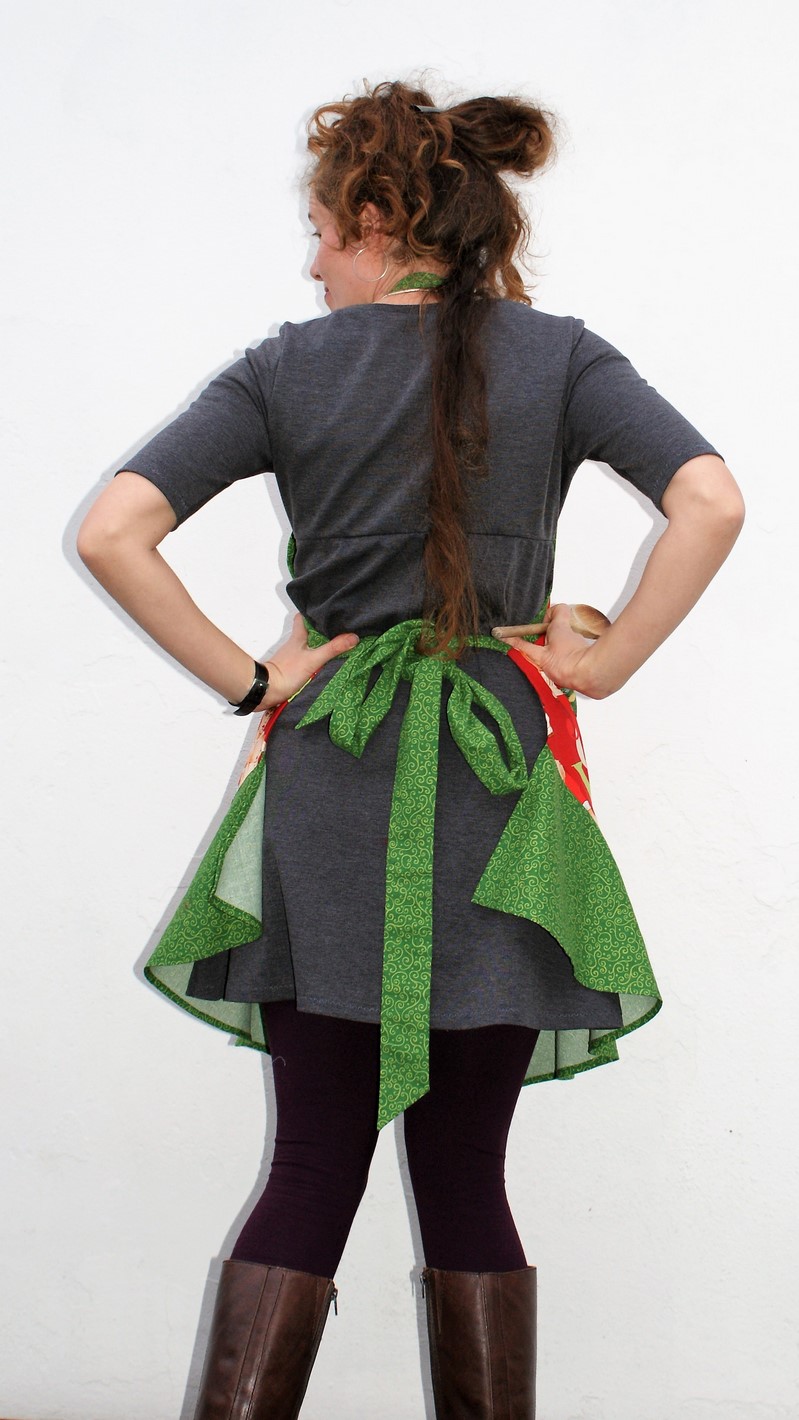
Butterick B5125. This is a gorgeous retro and somewhat glamorous apron, if such a thing can be said to exist. The pattern includes a full and half length version, both with a flounce and with really long and wide waist ties. These are a great feature, as they’re long enough to wrap around and tie in a bow at the front, which is the way I normally wear it (I’ve been wearing one of these aprons for years now). Unfortunately this pattern is now out of print, but it looks like there are still some copies available.
Fabric:
All I Want for Christmas by Alexander Henry – when I saw this 0.5m remnant at a local shop I just couldn’t resist the campy goodness. Alexander Henry are famous for their ultra camp pin up boys and girls fabrics. Unfortunately this fabric appears to now be sold out everywhere, but there are plenty more crazy fabrics available from them.
Contrast: Holly Jolly by Ingrid for Moda – the green scrolls mixer print. Again, sold out all over as far as I can see.
Lining fabric: upcycled old duvet cover in giant red gingham.
New skills learnt:
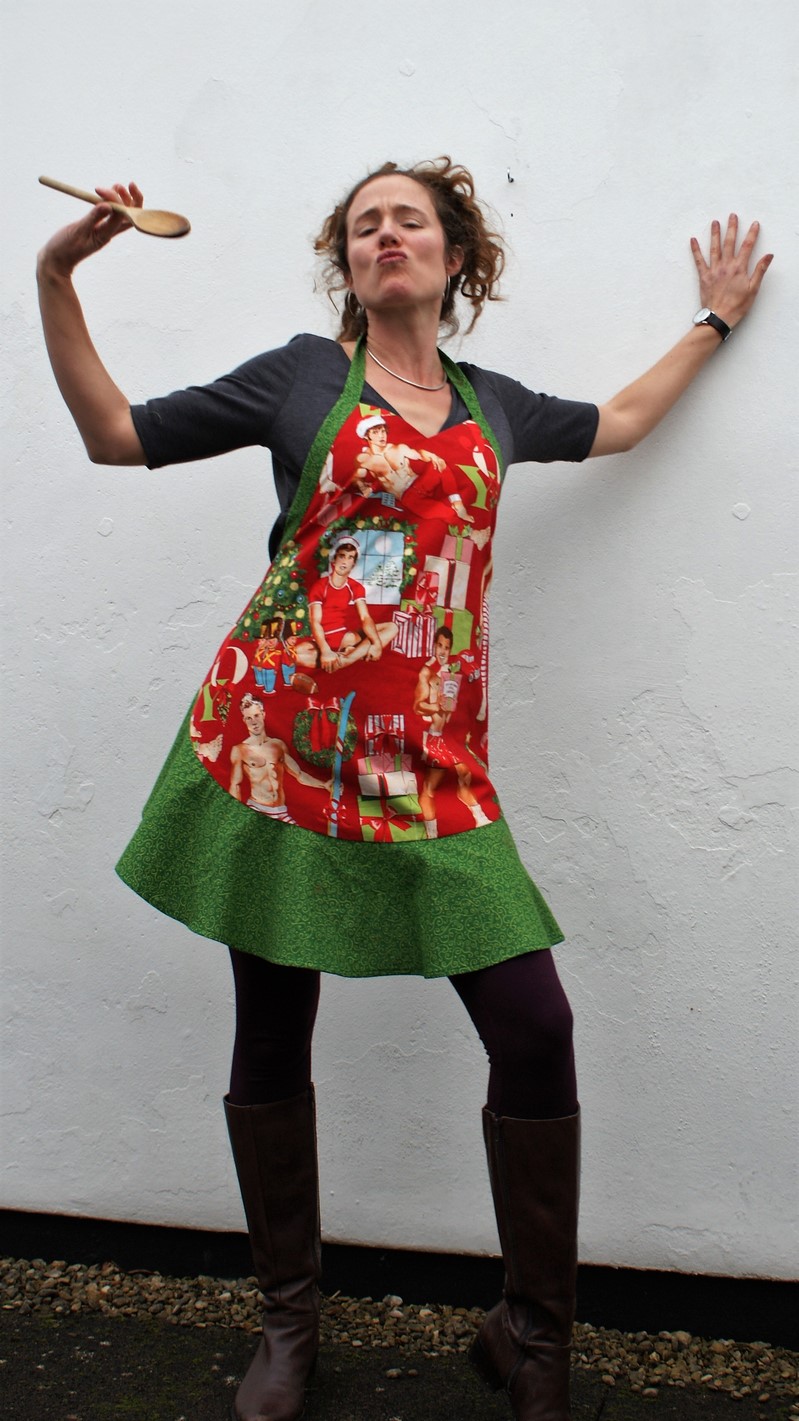
Pattern matching when joining two pieces of fabric. This was a necessity as the remnant was so narrow, and this pattern is a greedy old fabric eater. I actually sewed the pieces together four or five years ago using an online tutorial (can’t remember which, sorry). I didn’t get perfect matching, but it’s good enough for me. To be honest, you don’t notice with everything else going on in this print! Rather than have a join down the centre, I made two joins and kept the width of the panel centred, so the two joins fall to either side below the waist ties. And you know, I really wanted to feature the reclining man across the bodice. Check him out:
Changes I made:
- Added a lining to the main piece, both for aesthetic and practical reasons. It means hot oil splashes are less likely to soak through.
- Cutting two of each waist tie so that they would show the right side of the fabric from both sides. The pattern asks you to make a narrow hem instead, but this wouldn’t have looked right on this quilting cotton with a definite “wrong” side.
- Cutting a single neck strap instead of two ties. I felt safe doing this as my previous version hangs at exactly the right place, and I can still get it off and on easily without ever undoing the ties.
Construction:
I began by sewing the main fabric and lining together at the neckline, just as if the lining was the facing specified in the pattern. I then turned them right sides out, stuck the wrong sides together using temporary spray adhesive, and then treated them as one layer of fabric after that. I made a small exception to this at the bottom of the lining, which I lifted, folded under and hand stitched down to hide the seam allowance at the top of the flounce. It’s more trouble than I went to last time I made the apron when I just overlocked the flounce seam allowance to that of the lining and main fabric, but I think it was worth it. Plus I enjoy hand hemming, weirdo that I am! I wish I had a picture of the innards, but I didn’t take one and it’s too dark now so you’ll just have to take my word for it being beautiful even on the reverse.
The rest of the construction was trouble free, as I’ve made this apron twice before and it really isn’t difficult. I added in a few extra lines of stitching to help with turning and pressing the narrow hems, but otherwise pretty much followed the instructions as they were.
Overall verdict:
This apron is everything I was hoping for, and would have made it onto my top five projects of the year if I’d waited another week to blog those. I know they’re not everyone’s favourite thing, but I wear aprons a lot: for cooking, washing up and cleaning, and I appreciate having something to wear that both protects my clothes and lifts my spirits. The combination of this glam silhouette with this fabulous fabric is just perfect!
I’m probably going to pack this away after the twelve days of Christmas and then get it out again next December. It will become another festive tradition I can look forward to every year 🙂
Changes for next time:
I expect I’ll be making this pattern again at some point as my purple polka dot version is getting decidedly grubby, and it makes a great gift. I’ll probably continue to make my lined version, and stick with a single neck strap rather than two ties. The lining is a little extra work but I think it’s worth it.
Costing:
The actual amounts paid for the pattern and fabrics are lost in the mists of time, so I’m giving a rough estimate.
Pattern: approx £5.00 (I remember shopping around for a good deal), but made three times so this is now £1.66
Fabric: quilting cottons are usually around £12 per metre. I used 1.5m, so approximately £18
Total cost: £19.66, so let’s call it £20 as it’s all guesswork anyway.
Okay, not exactly cheap for an apron as I used quilting cotton and it’s a real fabric hog. However, it’s going to give me great joy every year for a very long time, and that’s way more important than the cost 🙂
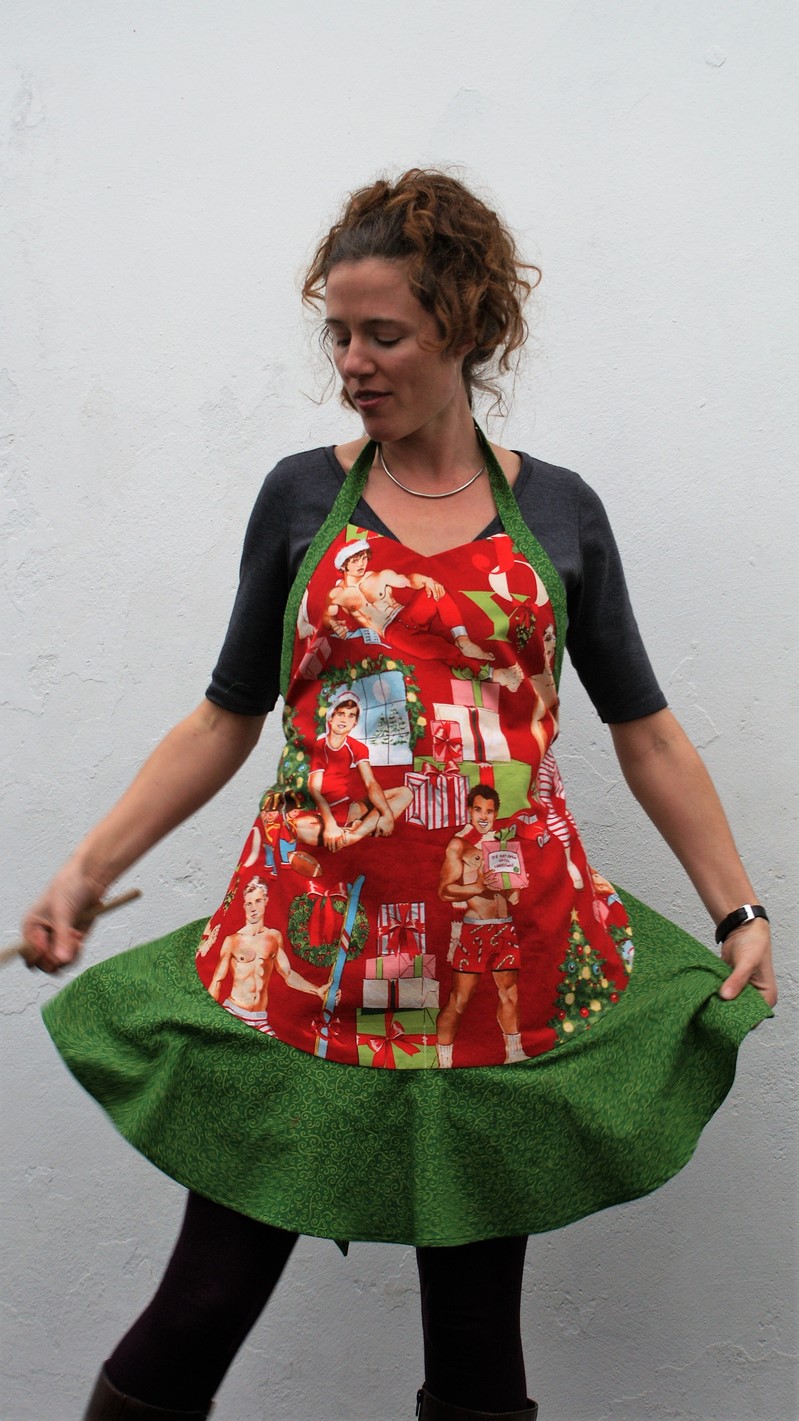
And finally, here’s one last pic of me enjoying my new apron:
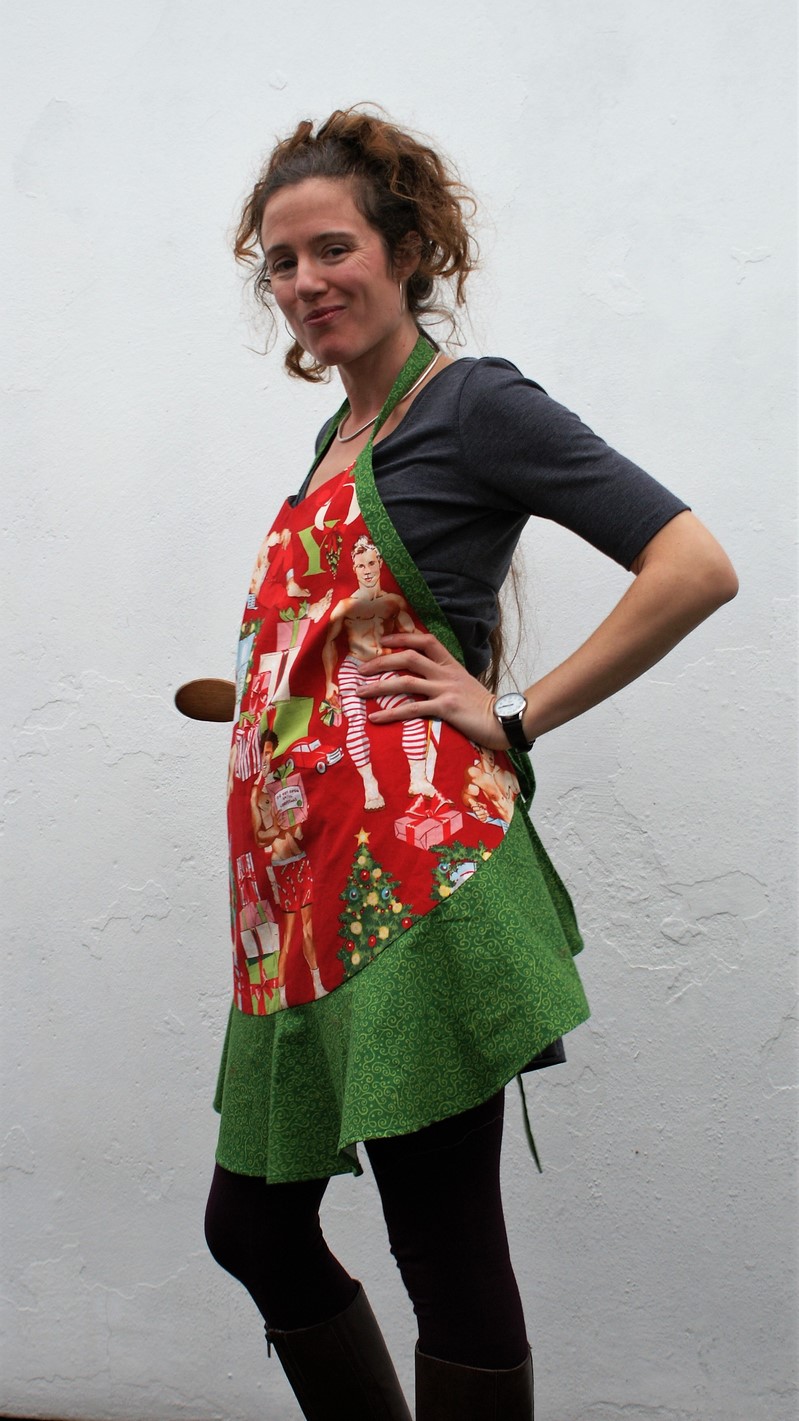
Only one question remains: which guy is your favourite?!
