I know every sewing blogger out there (pretty much) has already made this dress, but I’m not jumping on a bandwagon, honest! I’ve actually wanted a dungaree dress for yonks, as I had one I absolutely loved when I was pregnant with Daisy (who’s now 11). Last summer I was busy pinning dungaree dresses on an inspiration board, wondering how I’d go about drafting my own pattern for one, so when Tilly released this pattern I was more than ready to make one. I wonder why it took me until February? I blame Christmas for getting in the way 🙂
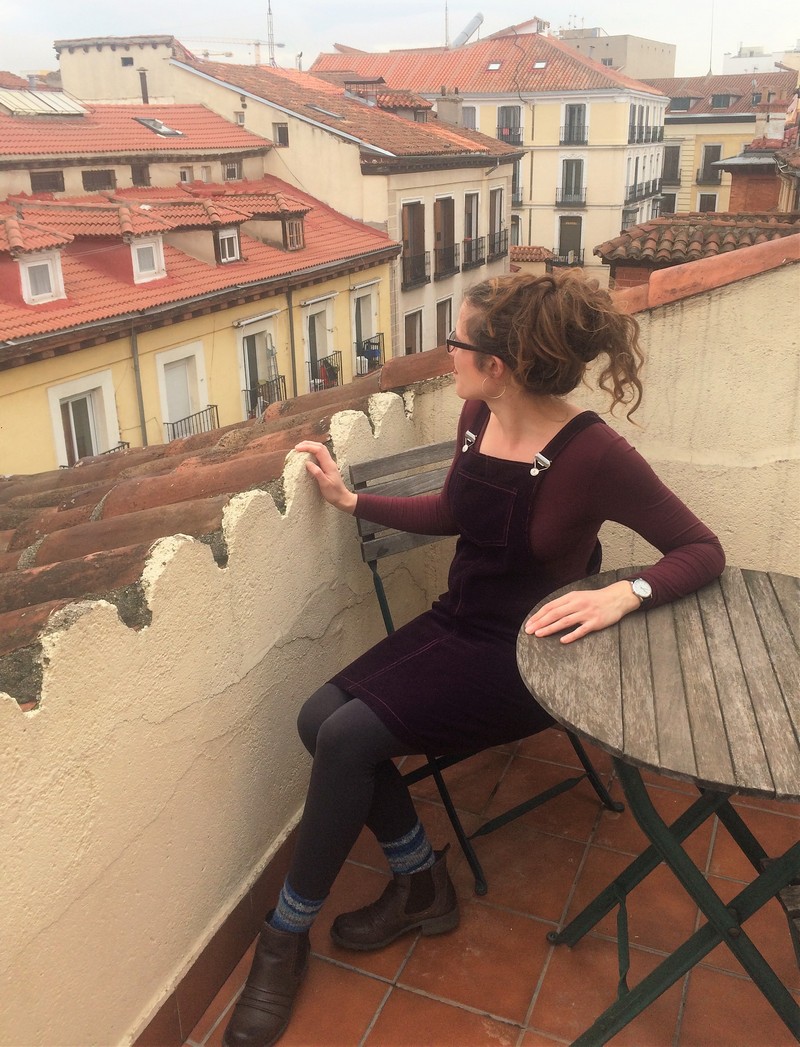
Like with my recent Moneta dress post, these photos were again taken on our glorious roof terrace during last month’s trip to Madrid.
In a Nutshell:
A cute but very practical dress–ideal for chasing about after toddlers!
Pattern:
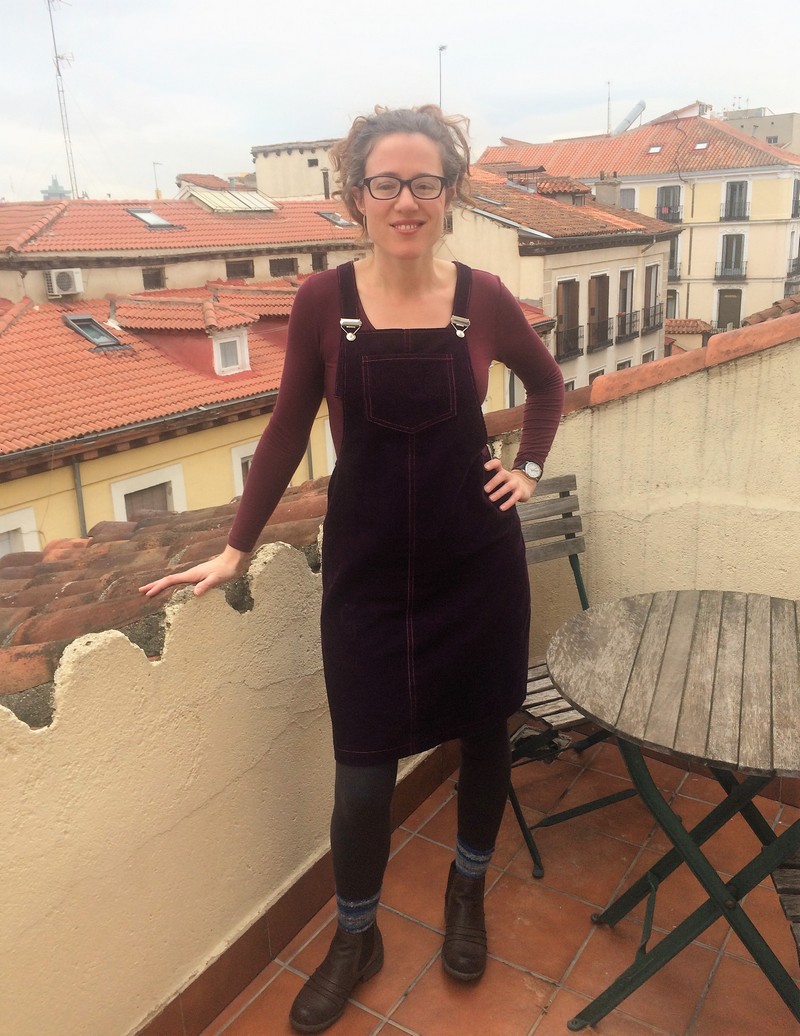
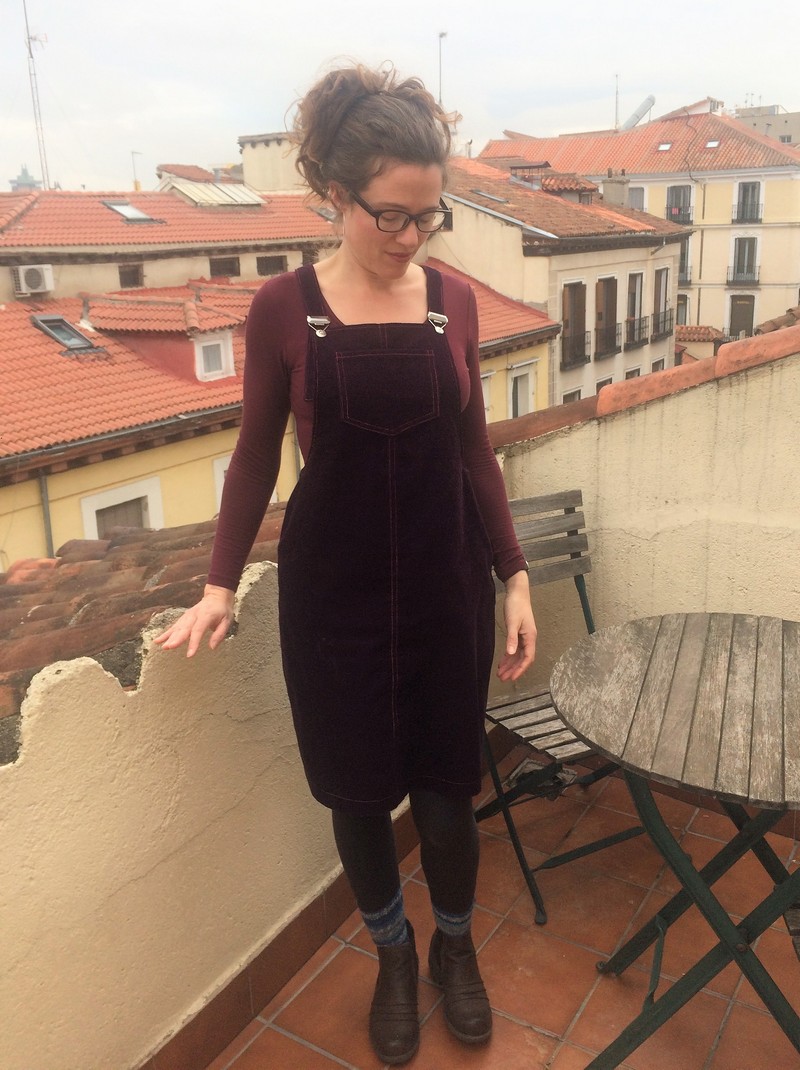
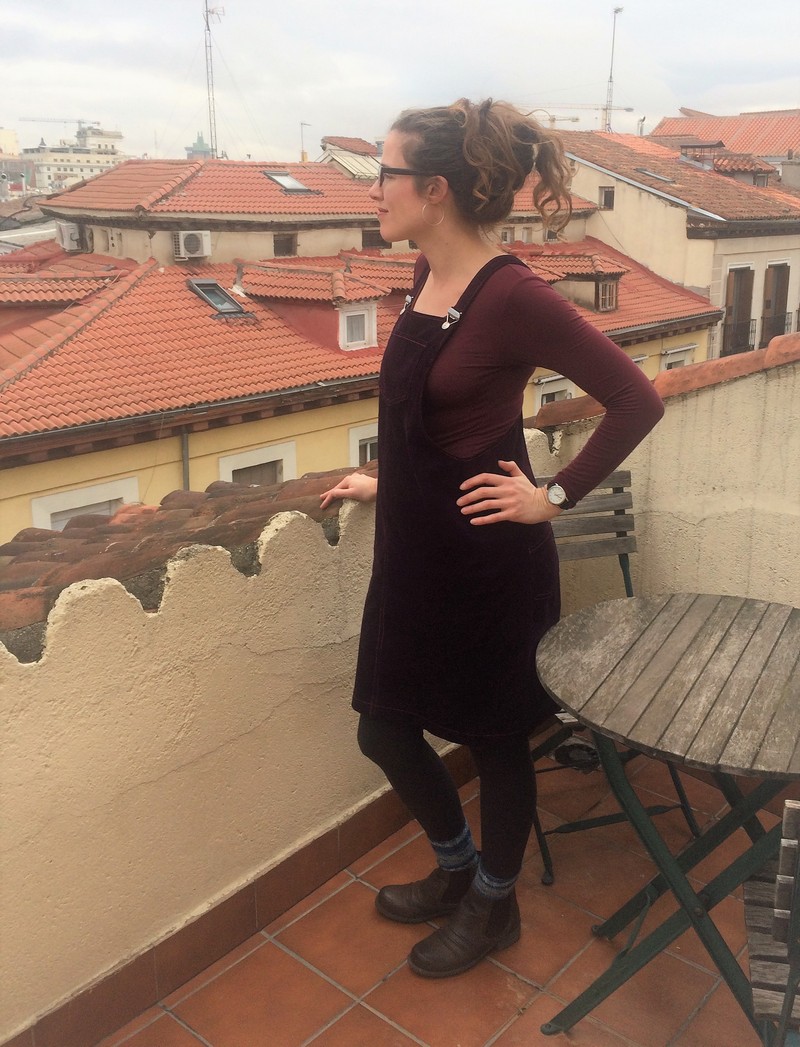
The Cleo Pinafore and Dungaree Dress from Tilly and the Buttons. I sewed the knee length version with the split and used two back pockets and one on the bib.
My waist measurement put me between sizes 3 and 4, and my hips were between sizes 4 and 5. Although the pattern instructions cautioned me to go with the larger size, I’d heard this pattern came up quite roomy at the waist so I rebelled and cut the smaller sizes, grading between a 3 at the waist to a 4 at the hip. With hindsight, this might have been a mistake! More on that in a minute…
Fabric:
Aubergine needlecord from my stash. It’s a really high quality, 100% cotton British-made corduroy from Brisbane Moss (I believe it might have been their 16 wale Chiltern). I also used the same fabric in different colours for my Rainbow Mini. I only used a metre to cut the Cleo dress as I used a different fabric for the facings, so I still have a metre left of this particular fabric in my stash. I’ll be able to recreate the dress when it wears out!
New skills learnt:
Although I’ve used topstitching weight thread before, this was my first time working with contrasting colour topstitching, so there was a steep learning curve. I ended up unpicking loads but I’m really pleased with the end result.
Changes I made:
- I moved the optional centre front split to the back instead as I just preferred it there. For some reason, I only like front splits on longer skirts.
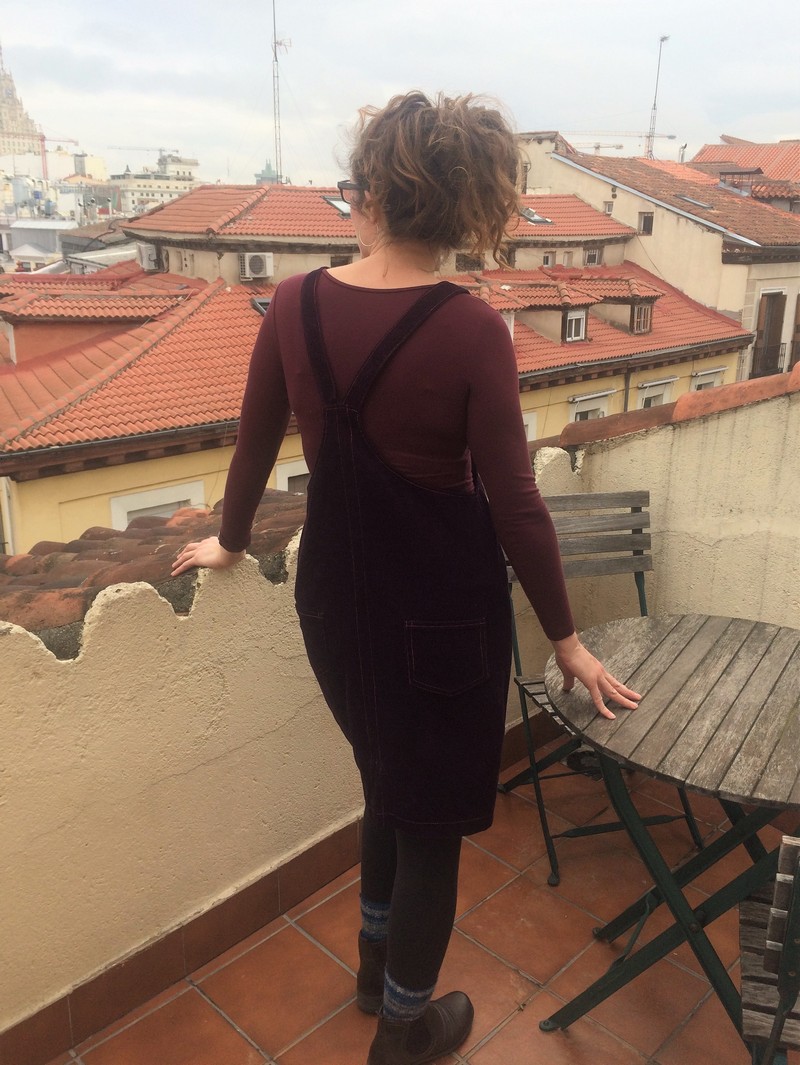
- I used quilting cotton from my stash for the facings as I thought two layers of corduroy would be too bulky for easy sewing.
- I thought ahead and slightly shifted the centre front seam, so that the two lines of topstitching were centred rather than being to one side of a centred seam (with contrast topstitching I thought it might make the front look lopsided otherwise). It was very easy to do–just a matter of stitching with an 8mm seam allowance on one side, and a 22 mm one on the other, then folding the wider side over to encase the narrower before topstitching.
Construction:
This is my first time using one of Tilly’s patterns, and I was impressed with the lovely packaging and easy to follow instruction booklet. Also, the pattern is printed on a decent weight paper which I love. I always trace patterns anyway, but I hate dealing with that flimsy tissue paper.
Construction was pretty straightforward and for the most part it all went together easily enough. I do have one small issue with the instructions, however. They don’t say to staystitch the curved upper edges of the front and back. Normally I think ahead and staystitch all curved edges, but for some reason I didn’t this time. Perhaps it’s because I knew I was following a hand-holdy, beginners pattern so I just switched off my brain. Anyway, for the rest of you and for me next time: STAYSTITCH THIS DRESS! I had a bit of a mare easing it back in while sewing on the totally non-stretchy interfaced facing, but luckily I managed it and you’d never know there had ever been a problem 🙂
Now, as to my optimistic sizing… Well, once I’d stitched the side seams I went to try it on and couldn’t get it over my hips! Okay, not a major problem as I could still get it over my head, but I prefer to step into dresses like this ideally. In the end I got out the seam ripper and sewed the side seams with just a 1cm seam allowance, giving me an extra 2cm ease overall. This has allowed me to get it on over my hips–it requires a bit of a shimmy as there’s barely enough room, but I’m happy with that. However, unless I add in some side closures next time I think I might abandon grading in for the waist!
My only other construction issues were more down to the challenges of visible topstitching on needlecord. Now, I thought I’d cut it all perfectly on grain so perhaps it went slightly awry when sewing the front and back seams, but when I went to start topstitching I realised that the cord wasn’t perfectly straight. It was only one or two wales out over the whole length, but enough to cause me some issues when topstitching. If I lined my topstitching up to the seam (which is what I ended up doing) then the points where it had to cross the fuzzy pile of the wales looked a little uneven. Still, this looked better than if I followed the wales and had the topstitching drifting closer or further away from the seam. I suppose with hindsight I probably should have unpicked and redone the seam from scratch, but I was feeling lazy and unsure whether I’d manage to get it perfect the second time either.
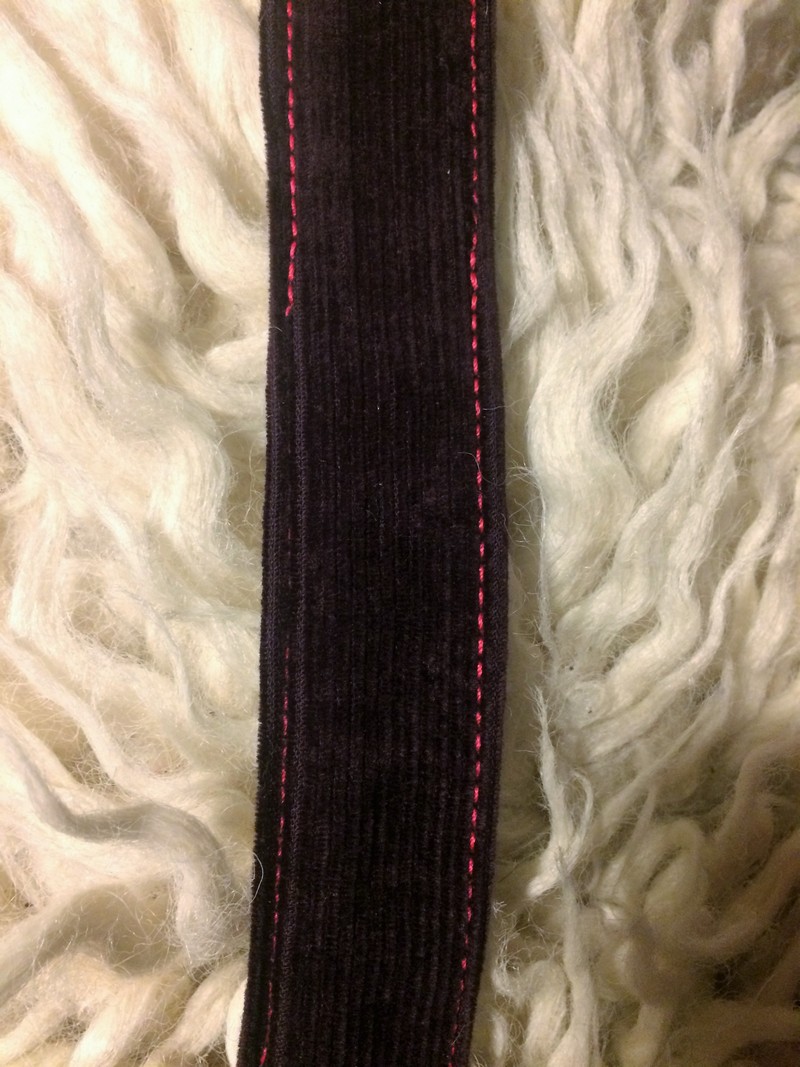
The bit I did completely redo was the strap where I’d inadvertently pressed it with the seam partially on top rather than at the edge (really hard to see where the seam was in this dark cord!) and the seam swallowed my topstitching. I now see why we stitch in the ditch:
So, topstitching was a bit of a pain in the backside and with hindsight, I probably should have tried an easier fabric for my first go with contrast thread, but I’m really glad I went to all the effort. I learnt a huge amount about how to handle topstitching, unpicked and redid all the bits that weren’t right, and ended up with a garment where I’m truly proud of the finish. Check out the beautiful double rows on this pocket (and ignore the fact I hadn’t yet finished off the thread ends or bothered to get all the fluff off that dark cord):
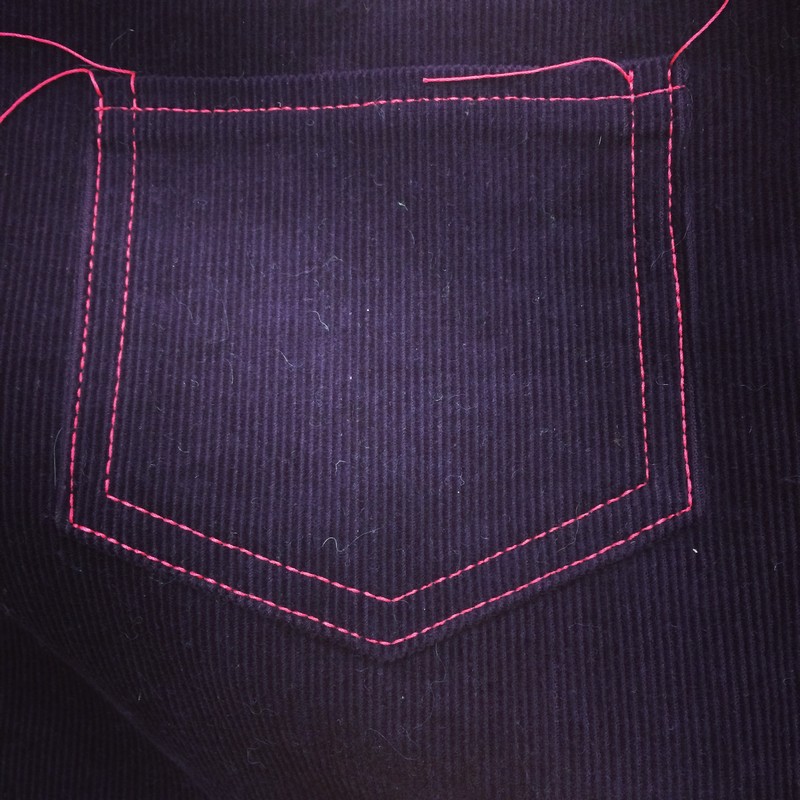
One little trick I did employ to make topstitching the pockets much easier was to use my 505 basting spray to stick them in place first. So much easier than pins! I also used my 1/4″ patchwork foot when topstitching as it is open and much easier to see what I’m doing when it comes to accurate straight stitching.
The only real topstitching fail was the bartack at the top of the split. I tried so many different machine settings but I just couldn’t make it work with the topstitching thread. I thought about using just the regular seam thread which would barely be visible but have decided to hand sew an arrowhead tack. This is still not done, though. Will show it on Instagram when it is!
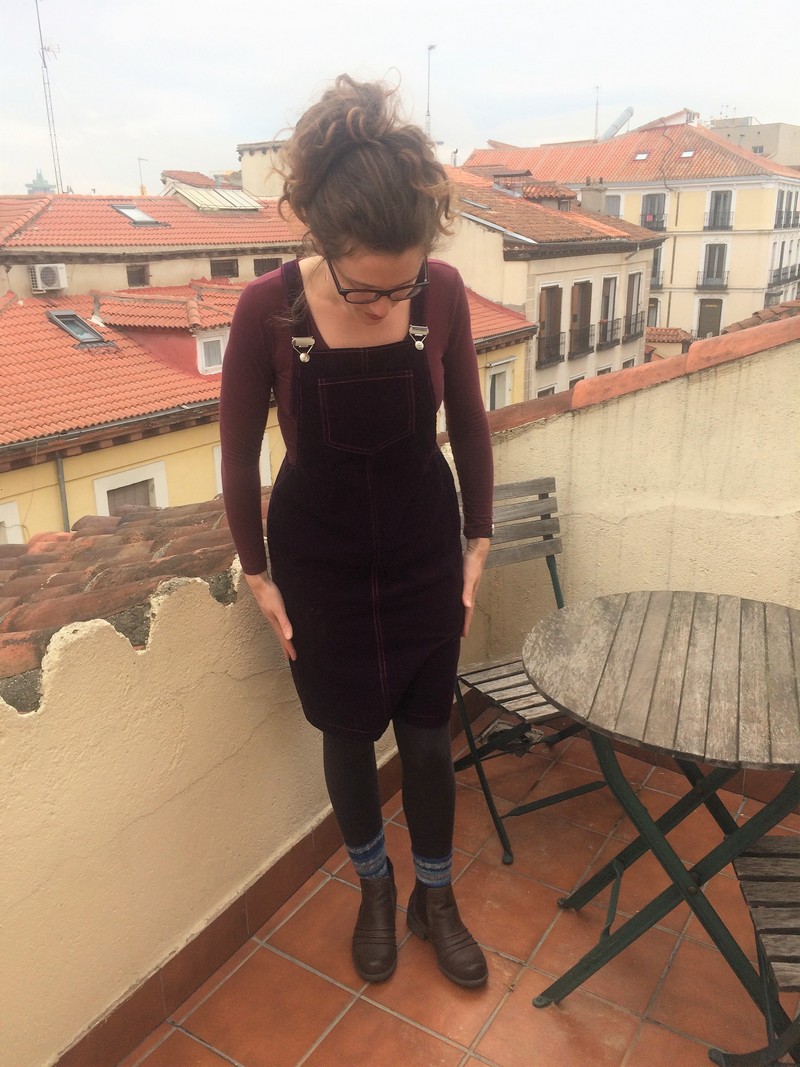
Oh yes, and I still haven’t finished off the straps by sewing the excess bit down. You can see it poking out the side in some of these pics! Still, this way the straps are adjustable. I’m still undecided about whether I want to stitch these in place…
Overall verdict:
I love this dress so much! It’s cute but not too girly–exactly what I was after, and I’m so pleased I went to the extra hassle of using the pink topstitching thread. Not only did it give me something new to master during construction, but it adds visual interest to what is otherwise a very simple silhouette. I’m a huge fan of those lovely Prym dungaree buckles, too, and I was amazed at how easy the buttons were to install. No hammer required! I’m also really pleased with that bib pocket as my phone fits snugly inside 🙂
My only slight problems with this dress are that I only have one top that kind of goes underneath it (need to sew more tees, stat!) and that it tends to ride up when wearing tights underneath. This won’t be a problem once the weather warms up enough for bare legs, but for now I’m solving it by wearing a half slip underneath. It wouldn’t be difficult to add a lining, though, so I’m considering doing that… if I can be bothered.
Changes for next time:
I’ll definitely be making at least one more of these for myself, in a denim or twill–and possibly another in a printed cord. I think next time I might not bother with doing contrast topstitching and eliminate the centre front and back seams by cutting on the fold. I also might add a button placket at each side on the waist so that it’s easier to get on and off, although I’ve never drafted anything like that before so it will take a bit of research. I’ll probably try the mini version too, and remove some of the length from the straps so that they’re only as long as they need to be.
I’ll also be using this pattern as a base to create a couple of new pinafore school uniform dresses for Daisy, and my mum has said she’d really like one too. This is one pattern that I can see is going to give me my money’s worth, so I’m really glad I forked out that little bit extra for the paper version!
Costing:
Pattern: £12.50 + £1.00 postage
Fabric: £0.00 since it’s stash fabric from so long ago I can’t remember the price. The facing fabric was given to me so that’s free as well 🙂
Notions: £5.50 for dungaree buckles
£1.75 for sew-all thread
£2.44 for topstitching thread (inc postage)
Total cost: £23.19
Definitely a cost-effective make, and will become more so as I’ll be making many more of these dresses!

Looking great! I’m glad it all turned out for you!
Thanks! Isn’t it great when you manage to make exactly what you wanted?!
The dungarees with contrasting colour topstitching is looking great and suits you well. The arrowhead bartack you sewed on is a great idea. It’s a real personal style detail.
Thank you so much! I love adding those special little details to make things truly one of a kind 🙂
Love this look, it looks great on and love the pop of colour the top stitching adds. I’m so tempted by the pattern but I’m really not sure it would suit me.
Thank you so much! I think the silhouette is pretty versatile but probably not so good on more curvy figures. Sometimes you just have to try things out to know, though. Could you try on something similar in a clothes shop before committing to the time and expense of sewing one up?
Looks wonderful on you! Love that pink topstitching. I would love to make it, it’s totally my thing, however my wide hips don’t share the same enthusiasm… 🙂
Thanks! I wonder if you could alter it to make it flatter your hips… Turn it into an A-line silhouette, maybe? I’m thinking of doing that to the version I make for my daughter as I figure it will be more practical than the straight skirt.